Quick Answer
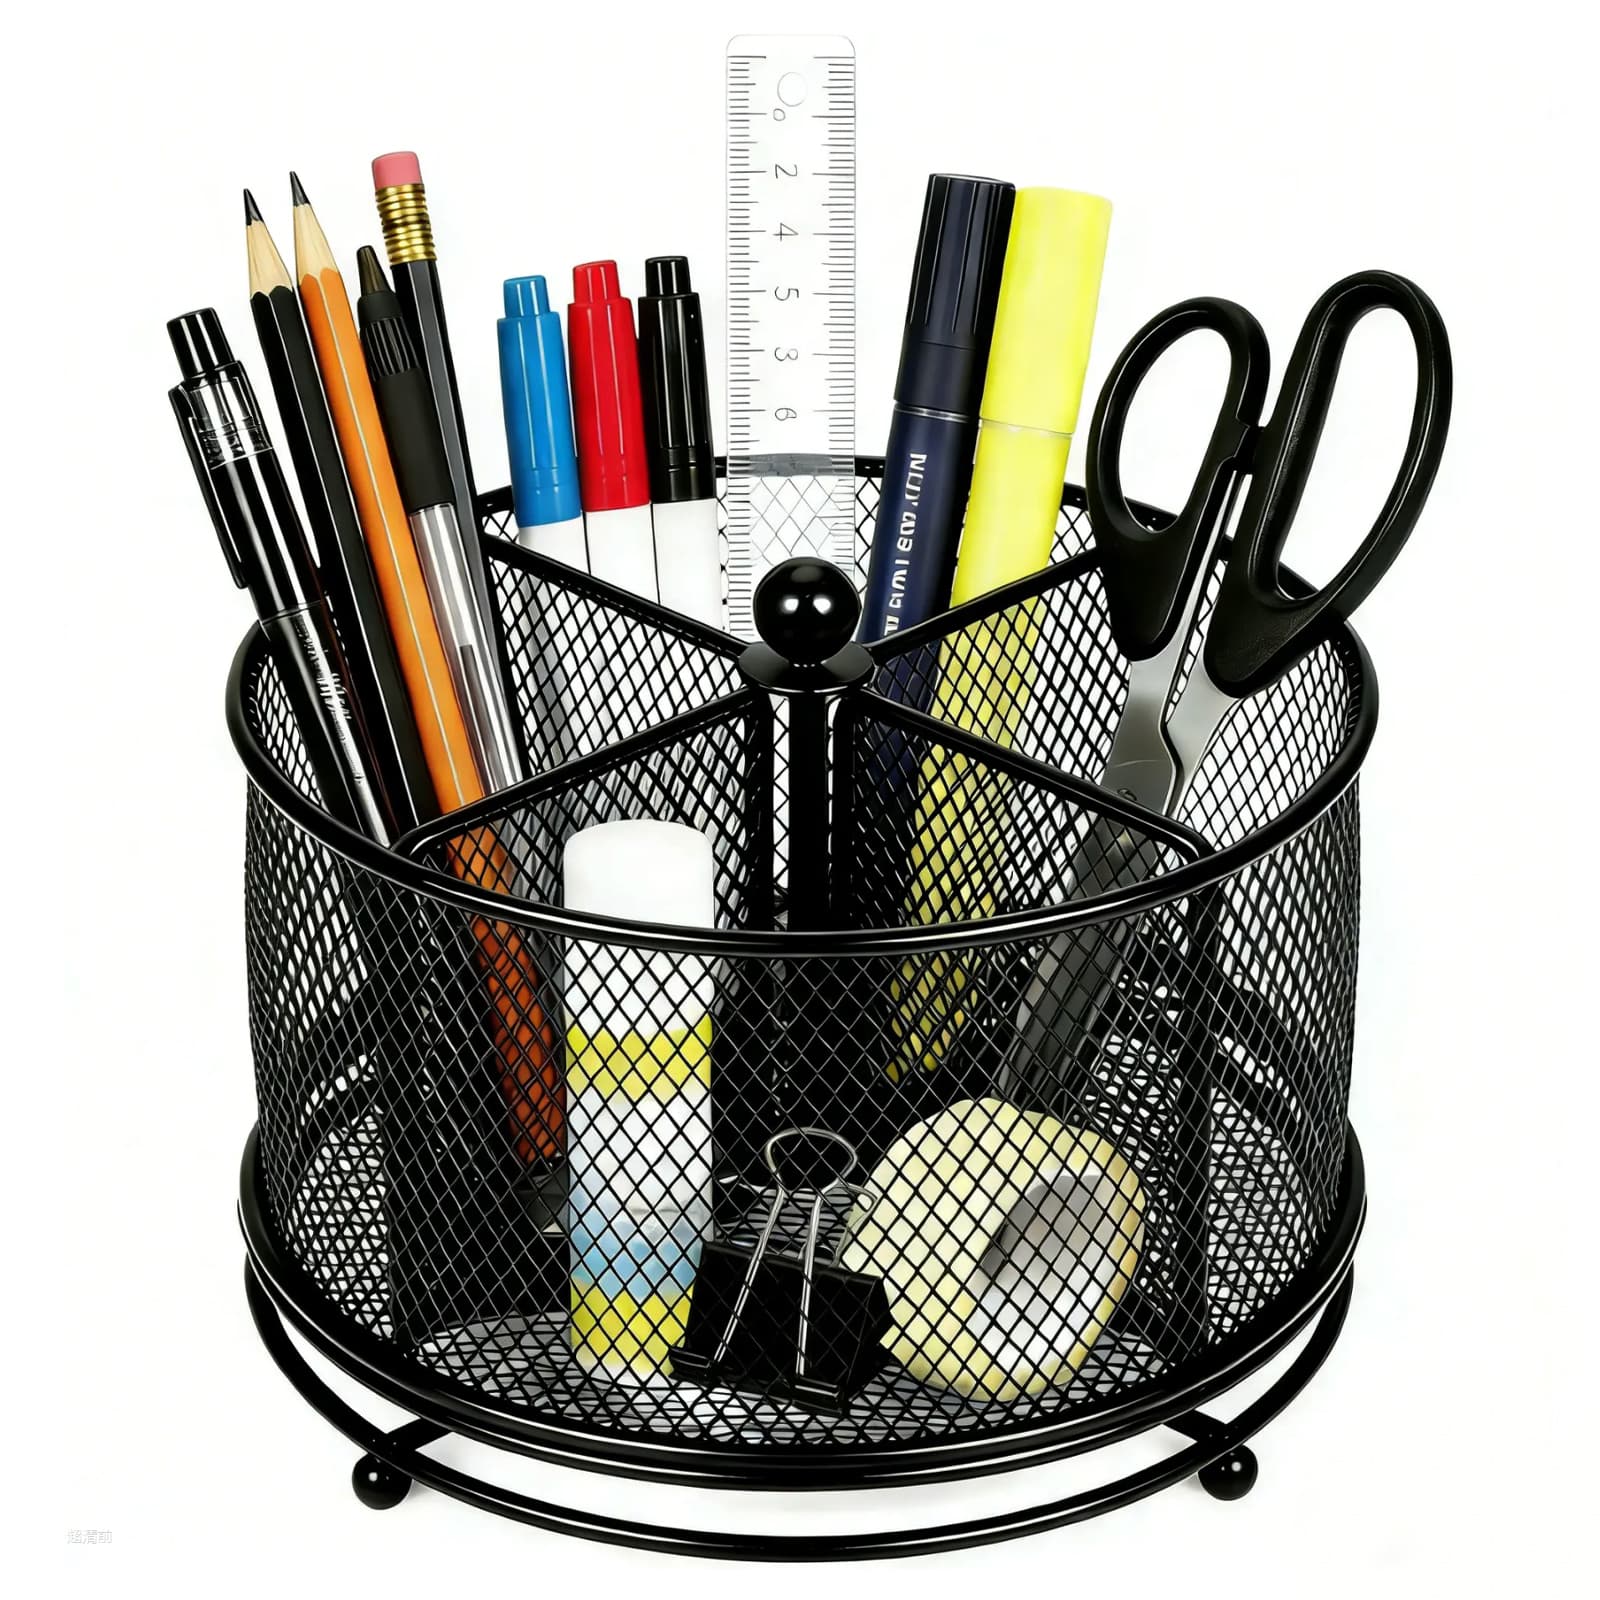
To organize pens and markers on a desk, keep only the tools used for current work, group them by task and give every group a fixed compartment. Place the Obsoorth PN-1045A-OB rotating holder on a level surface within easy reach, with clearance to turn without hitting the monitor, lamp or a drink. Load its four sections so labels and tips remain visible, and distribute taller or heavier tools instead of crowding one side. Return items after use and do a short weekly reset so the system stays useful.
Design the system
Organize around tasks, not an idealized desk photo
A useful desk system supports the work that actually happens there. Someone who writes and highlights documents needs different groups from a student switching between subjects or an artist choosing several marker families. Start by naming the repeated actions: writing, annotating, sketching, measuring, cutting or planning. Those actions become the basis for your compartments.
Stanford's Center for Teaching and Learning advises keeping needed resources accessible, removing unrelated items and grouping similar materials. Utah State University Extension uses a broader sequence: sort, purge, assign, containerize and maintain. Both point to the same practical order—decide what belongs before choosing where it sits.
Use an open rotating holder when
- You use several pens or markers repeatedly during the day.
- You want visible categories without opening a drawer or lid.
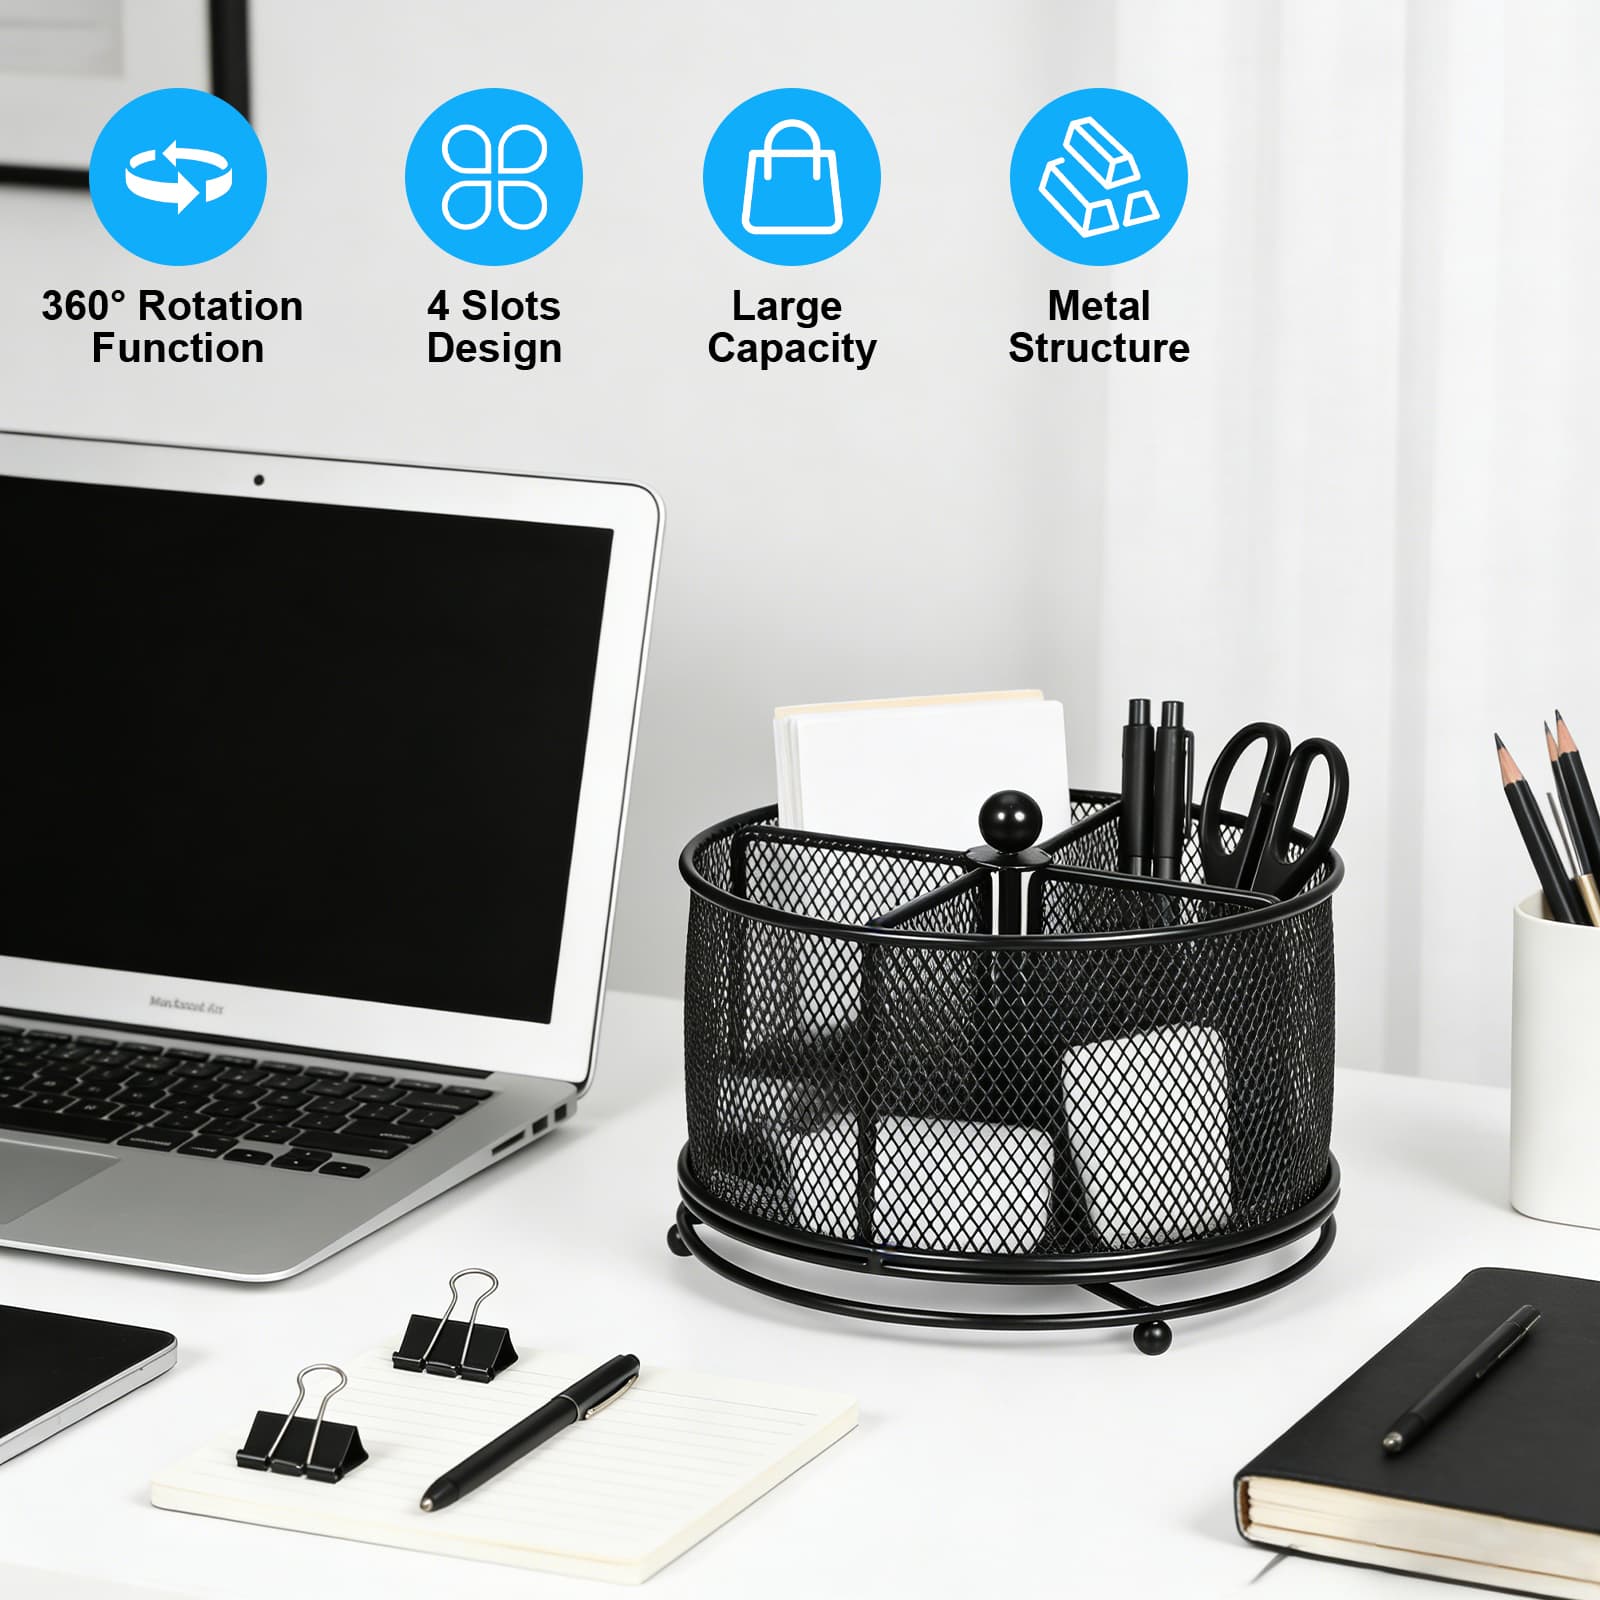
- You have a level 6.7-inch-wide area with room for rotation.
- Your supplies stand securely in an open metal-mesh compartment.
Choose closed or secondary storage when
Supplies are rarely used, sensitive to light or air, unsafe for unsupervised children, likely to leak, or small enough to slip through open mesh. Follow every marker, adhesive and art-material label rather than treating a desk organizer as protective packaging.
Prepare first
Clear one work zone before loading the organizer
Move papers into active, reference or archive locations before dealing with pens. Separate desk supplies from objects that belong elsewhere. Then collect writing tools from drawers, bags and cups so you can see duplicates. Test them on scrap paper and close every cap. Keep current tools, place good backups in secondary storage and handle damaged materials according to their labels.
Wipe dust from the chosen desk area using a method appropriate for that surface, then let it dry. Check that the organizer sits flat and rotates without resistance. Keep its path clear of cables, notebooks and beverages; the point of rotation is to bring tools closer without reaching across the workspace.
Step-by-step
Follow seven steps to organize pens and markers
Step 1
Empty the desk area and gather every writing tool
Bring together the pens, pencils, highlighters, markers and small tools that currently live on the desktop or in nearby drawers. Remove unrelated papers and objects from the work zone. Stanford's Center for Teaching and Learning recommends removing desk items that are unrelated to the task and giving materials a defined place.
Step 2
Test the tools and move backups out of the active zone
Check whether each pen writes and each marker still has a usable tip. Keep the tools you actually use at the desk, then place duplicates and occasional supplies in a separate drawer or storage box. Do not force damaged, leaking or uncapped art materials into an open organizer; follow the product label for safe handling and disposal.
Step 3
Choose four categories that match your real tasks
Assign one category to each compartment before loading anything. A practical home-office setup might use everyday writing, color and highlighting, drawing or planning, and scissors or rulers. A student or artist can instead group by course, medium or current project. The useful categories are the ones that let you return an item without pausing to decide where it belongs.
Step 4
Place the rotating organizer inside your easy-reach area
Set the organizer on a level, dry part of the desk where it can turn without hitting a monitor, mug, lamp or wall. Leave the keyboard and mouse area clear. If you use one hand more often, start on that side, then rotate the holder through a full circle to confirm that every compartment remains accessible.
Step 5
Load each compartment for visibility and balance
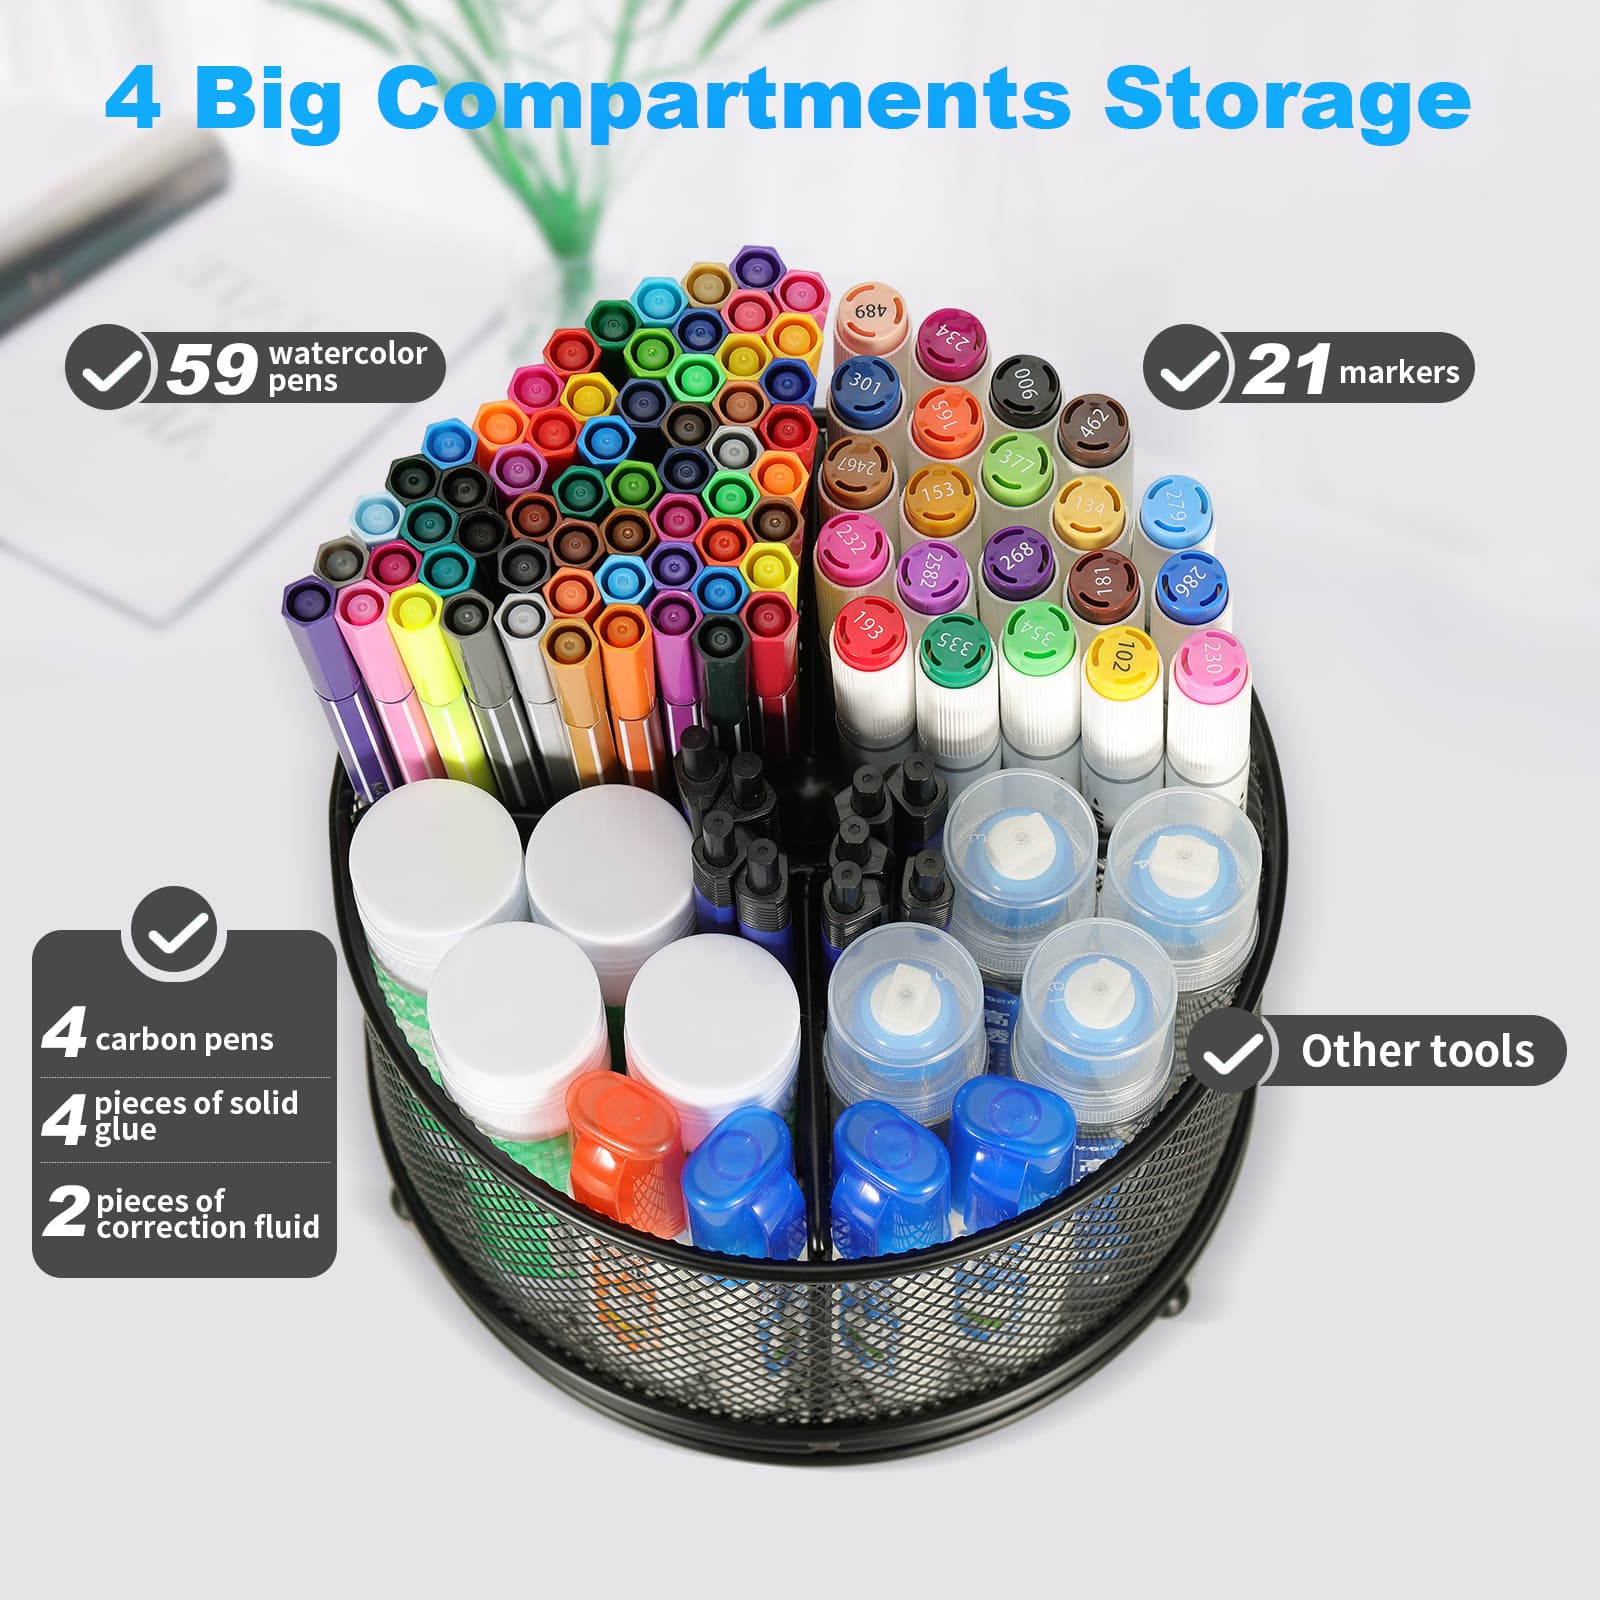
Put taller pens and markers toward the center of each section and keep frequently used items easy to see. Spread heavier tools such as scissors between compartments instead of loading one side. The PN-1045A-OB has four open sections and a 6.7-inch round footprint, so stop adding items before the contents hide one another or interfere with rotation.
Step 6
Run a one-minute retrieval test
Sit in your normal working position and retrieve one item for each common task: a writing pen, a highlighter, a marker and a cutting or measuring tool. Rotate the base rather than reaching across the desk. If a tool is hard to identify or catches on neighboring items, change its compartment or move it to secondary storage.
Step 7
Reset the four compartments at the end of the week
Return stray supplies, remove empty pens and move project-specific tools when the project changes. Dust the mesh and desktop with a cleaning method appropriate for each surface, keeping moisture away from anything whose care instructions do not permit it. A short weekly reset preserves the categories without turning organization into a large recurring job.
Category examples
What should go in four rotating compartments?
For a home office, try everyday pens and pencils in the first section, highlighters in the second, markers or planning tools in the third, and scissors plus a ruler in the fourth. For creative work, group by medium or stage rather than mixing every color and tip size together.
Let frequency decide which section faces you
Start each session with the most-used category facing the chair. Rotate when another task begins instead of crowding every tool into the front section.
Keep open mesh limitations in mind
Paper clips, short chalk pieces, loose blades and other very small objects may not suit an open mesh container. Store them in a closed box designed for the item. The rotating holder is best treated as visible access for upright everyday tools, not universal storage.
Troubleshooting
Avoid five common pen-organization mistakes
Keeping every pen on the desk
Move duplicates and occasional tools to secondary storage so active supplies stay visible.
Using categories that do not match your work
Group by the choice you make during a task—type, color, course or project—not by a rule you will ignore.
Overloading one compartment
Spread taller and heavier tools, and stop before items hide one another or obstruct rotation.
Placing the holder outside easy reach
Move it closer on a level surface and rotate the base instead of repeatedly leaning across the desk.
Skipping the reset
Remove empty pens and return misplaced tools weekly before random objects occupy the categories.
Maintain the system
Reset the categories and clean the organizer conservatively
At the end of the week, return tools from notebooks and bags, test questionable pens and move completed-project supplies out of the active zone. University of Georgia Extension recommends keeping similar office supplies together and putting items away after use; Utah State's framework adds a regular maintenance step after sorting and containerizing.
Empty the PN-1045A-OB before cleaning. Use a soft cloth to remove dust from the powder-coated metal mesh and rotating base. The verified catalog record does not provide a wet-cleaning or dishwasher method, so do not immerse the organizer or apply a cleaner unless instructions supplied with the exact product permit it. Confirm that the holder is dry and stable before reloading it.
Product match
Review the exact PN-1045A-OB organizer before choosing
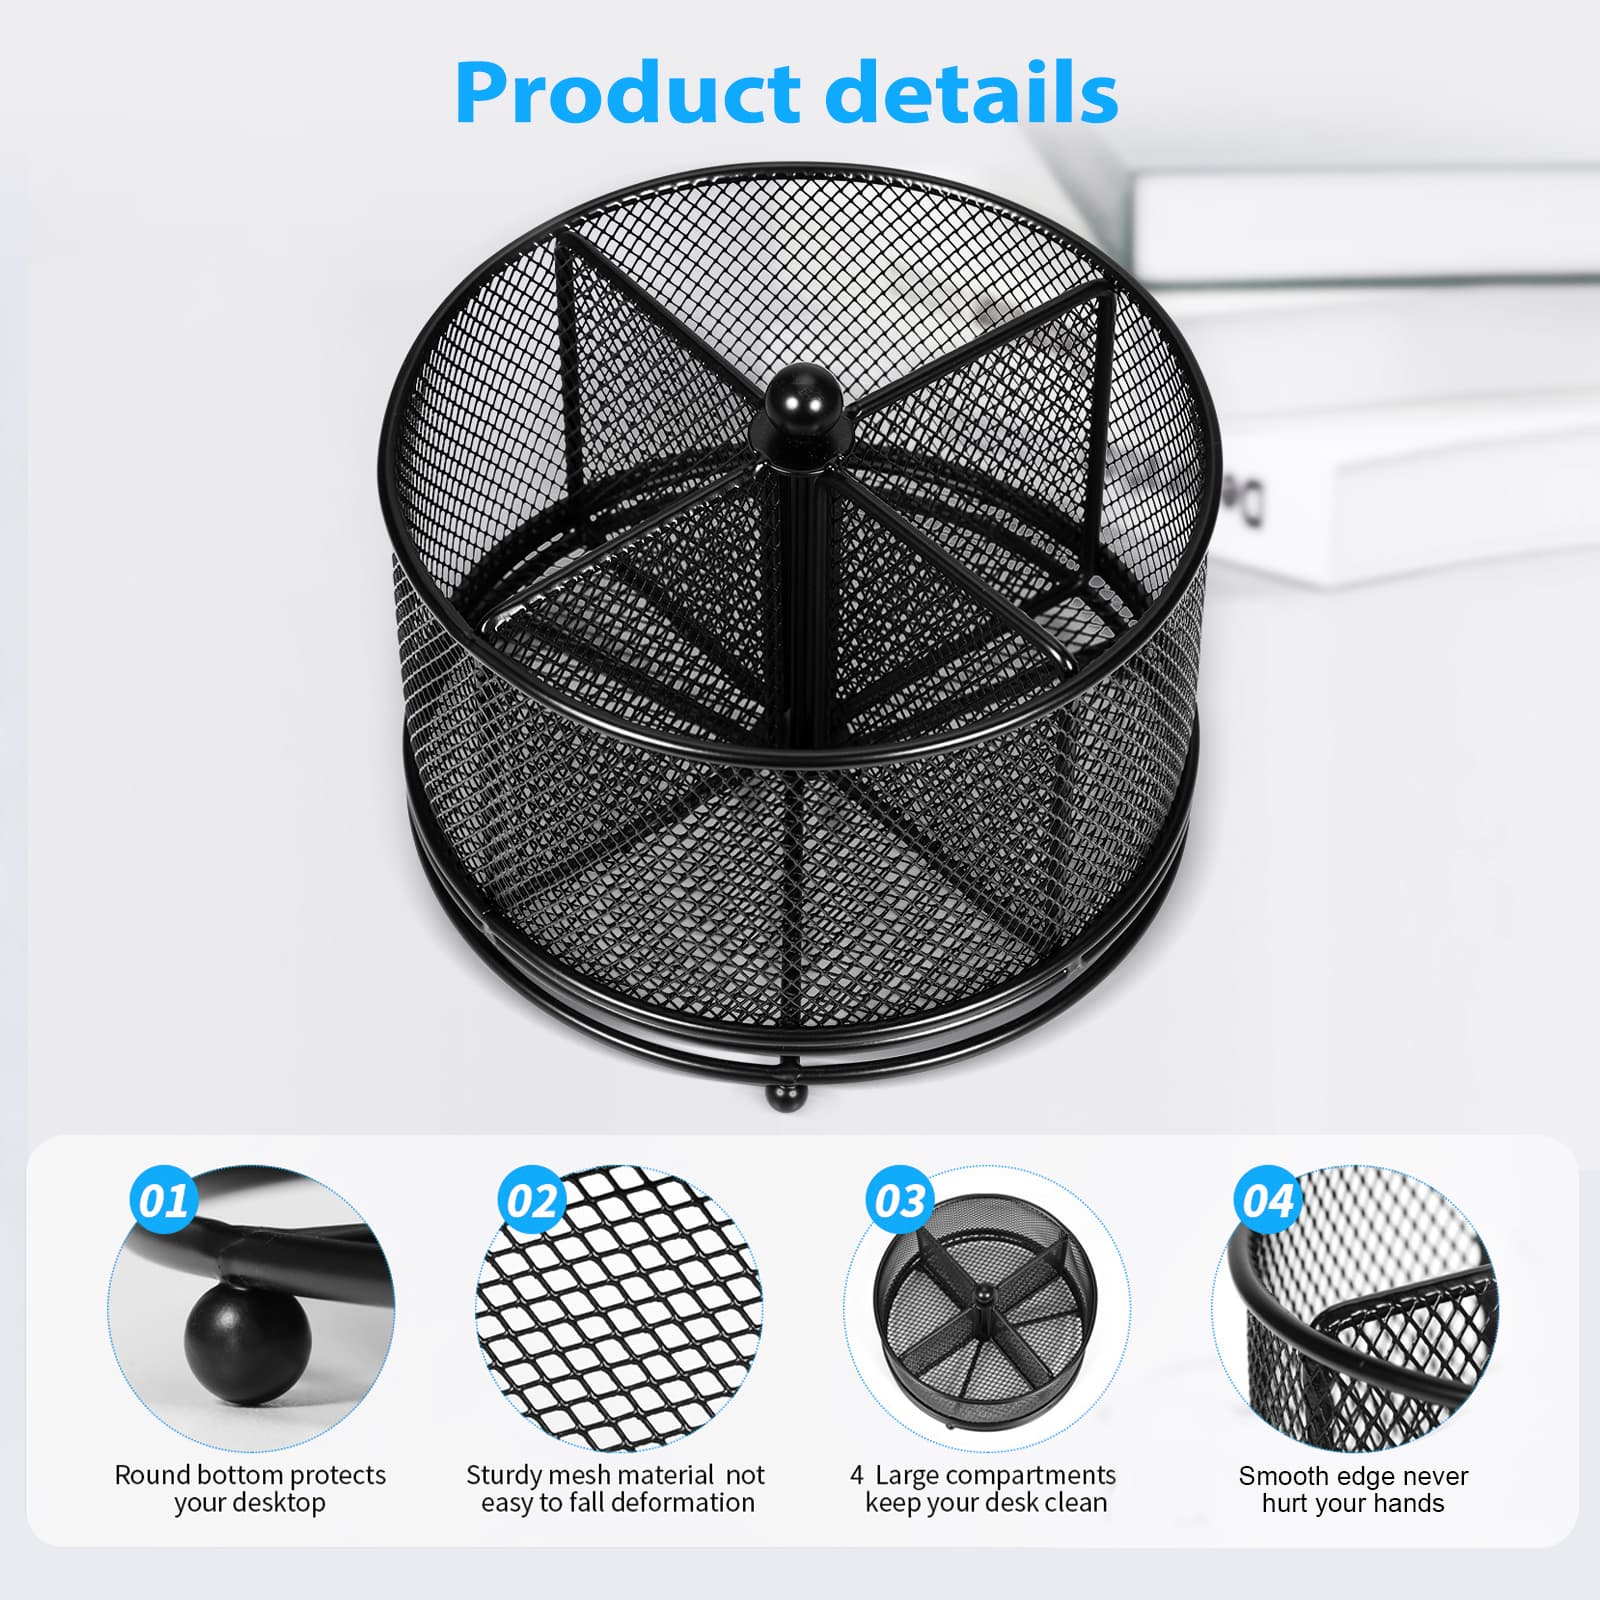
The Obsoorth round rotating mesh pen organizer is model PN-1045A-OB in black, with four open compartments, powder-coated metal mesh and a 360-degree rotating tabletop base. Compare its verified 6.7-inch diameter and 5.1-inch height with the available desk area and the tools you intend to store. You can also browse the Home & Desk Organization collection or read the Small Kitchen Upgrades guide for another example of organizing everyday tools around routines.
Frequently asked questions
Organizing pens and markers, answered
How do you organize pens and markers on a desk?
Keep only active tools on the desktop, group similar items by the task they support and give each group a fixed compartment. Place the organizer within easy reach, test whether you can identify each tool quickly and move duplicates or rarely used supplies to secondary storage.
Should pens be organized by color or by type?
Use the system that matches how you choose tools. Organizing by type works well when you first decide between a pen, pencil, highlighter or marker; organizing by color can work better for illustration or color-coded planning. Four compartments also allow a hybrid system.
What should go in each section of a four-compartment pen holder?
One practical setup is everyday pens and pencils, highlighters, markers or drawing tools, and scissors or rulers. Change those categories for your own work, and keep very small pieces in a closed container if they could pass through an open mesh wall.
Where should a rotating pen organizer sit on a desk?
Place it on a level surface inside your comfortable reach without blocking the keyboard, mouse, monitor or task lighting. Leave enough clearance for the holder to rotate fully and keep drinks far enough away to reduce spill risk around papers and electronics.
How do you keep a pen organizer from becoming cluttered again?
Set a capacity limit: every item should remain visible and easy to remove. Return tools after each task, move backups elsewhere and use a brief weekly reset to remove empty pens, unrelated objects and supplies from finished projects.
Can the PN-1045A-OB hold scissors or art tools?
The verified product record lists pens, pencils, markers, scissors, brushes and other small tools among its intended uses. Load only items that stand securely inside the compartment, distribute heavier tools and stop if an item interferes with the rotating base or makes the holder unstable.
What are the size and materials of this rotating pen organizer?
The black Obsoorth organizer is model PN-1045A-OB and measures 6.7 inches in diameter by 5.1 inches high. Its verified catalog record describes powder-coated metal mesh, four open compartments, a tabletop mount and a 360-degree rotating base; the Amazon ASIN is B0GRGZR1Q9.
Sources and review method
Check the guidance behind this article
Product facts come from the verified PN-1045A-OB catalog record, matching product images and the exact Amazon listing. Workspace sorting, grouping and maintenance guidance was checked against the following sources on Sep 19, 2026.
1. Stanford Center for Teaching and Learning: Organizing Your Physical Workspace
University guidance to remove materials unrelated to the task, keep similar items together and give essential workspace materials a defined place.
2. Utah State University Extension: Where's My Desk?
An extension framework for sorting, assigning, containerizing and maintaining possessions in an accessible and safe system.
3. University of Georgia Extension: Health Benefits of Decluttering
Extension advice to sort belongings, keep similar office supplies together, use containers and put items away after use.
4. Purdue Extension 4-H: Caring for Your Room
A university extension guide illustrating how boxes or dividers can separate small desk supplies such as pens, pencils and crayons.
About the author
Obsoorth Editorial Team
The editorial team prepares product-use guidance from verified catalog records, matching product assets and cited external references. The team removes unsupported specifications and separates general organization advice from claims about a specific model.