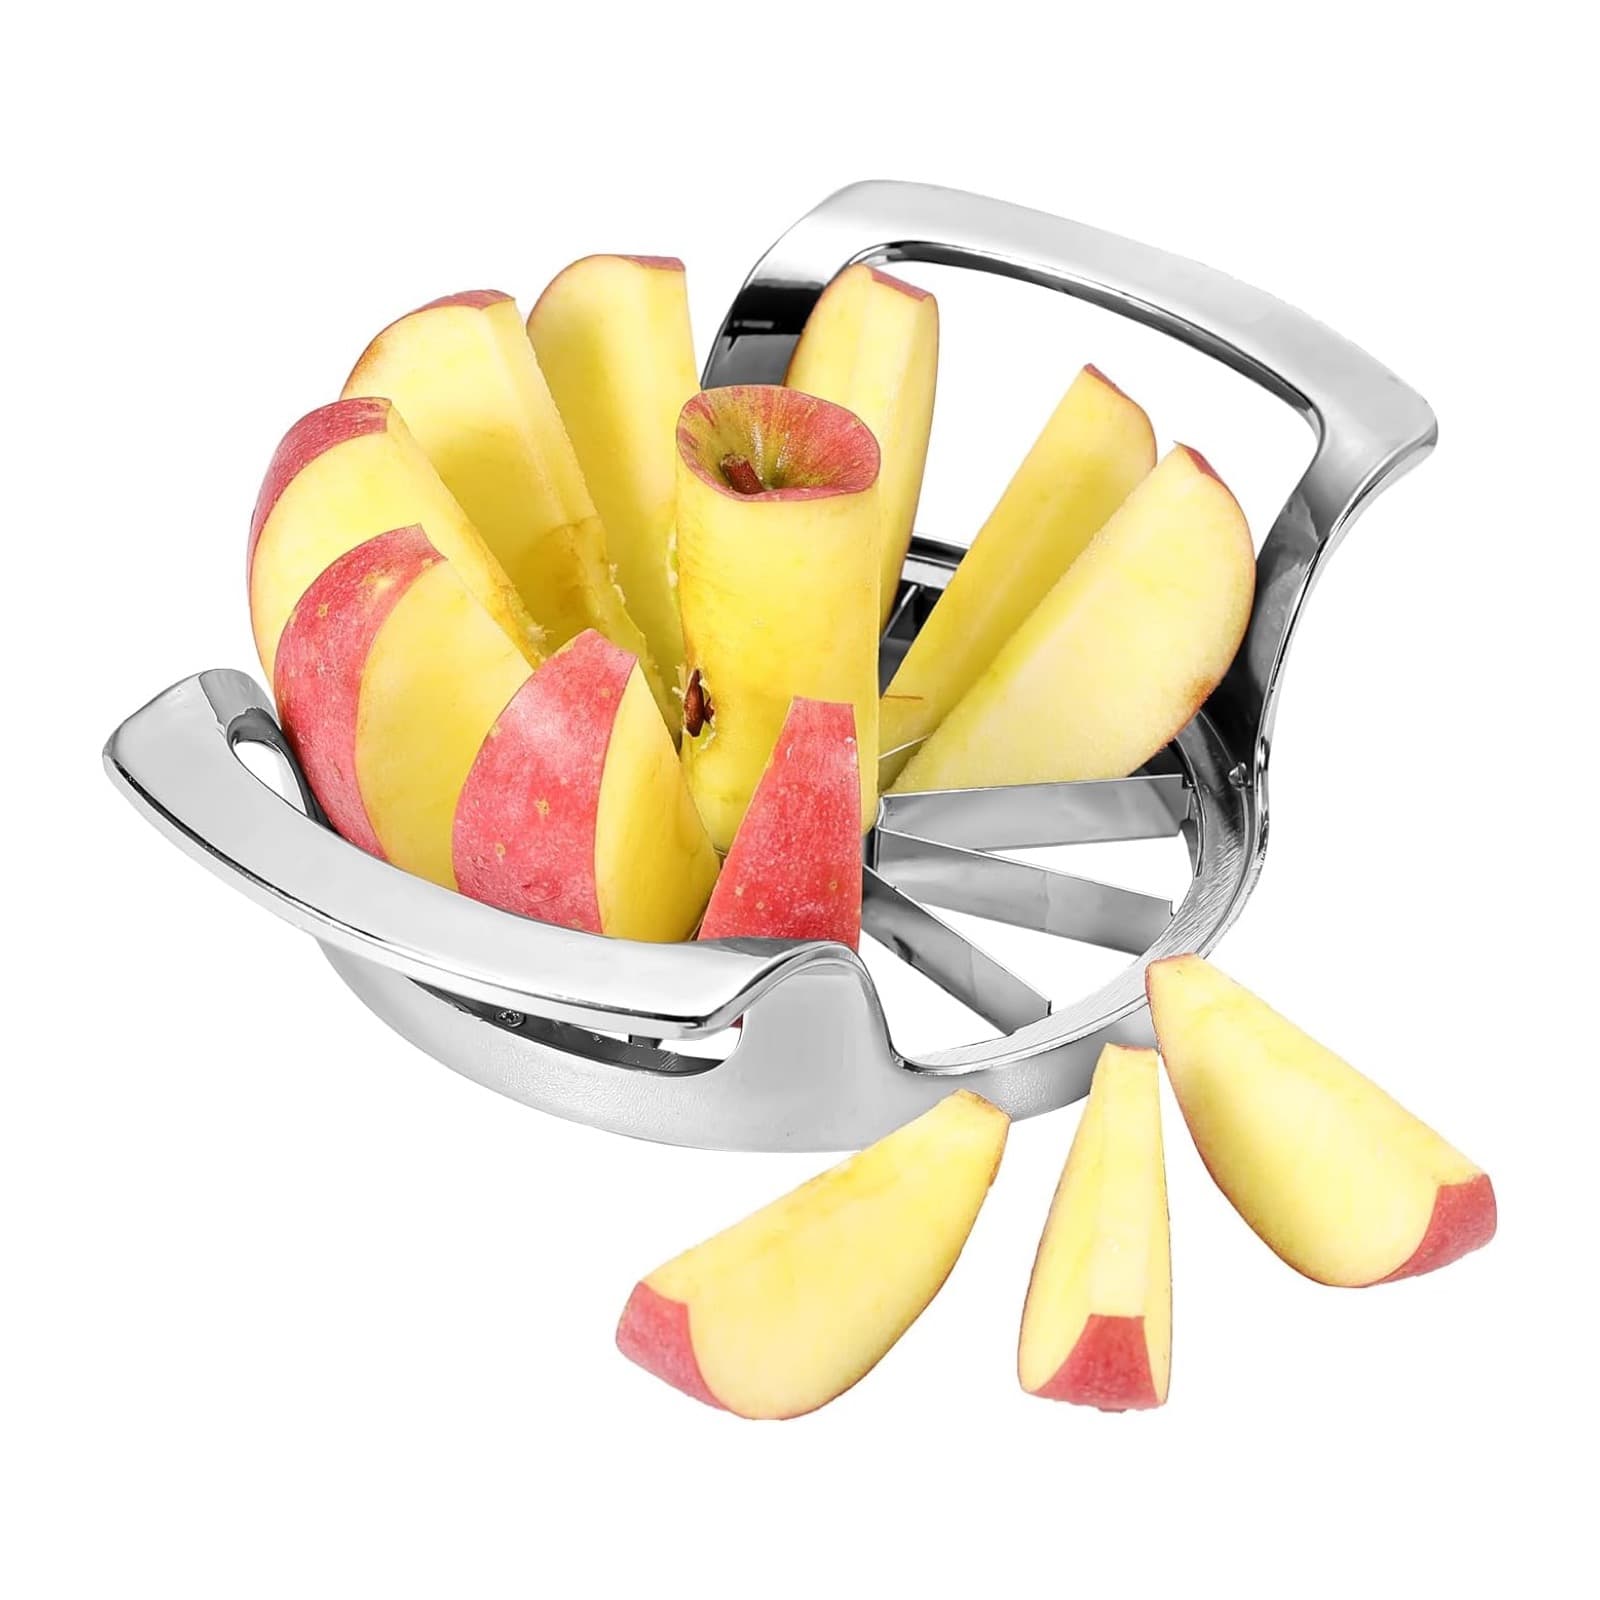
An apple slicer combines a radial cutting tool and a center corer. Used correctly, it can turn one apple into evenly sized wedges in a single controlled motion. The key is not speed: it is stable placement, accurate alignment and even downward pressure.
Apple slicer basics
What does an apple slicer and corer do?
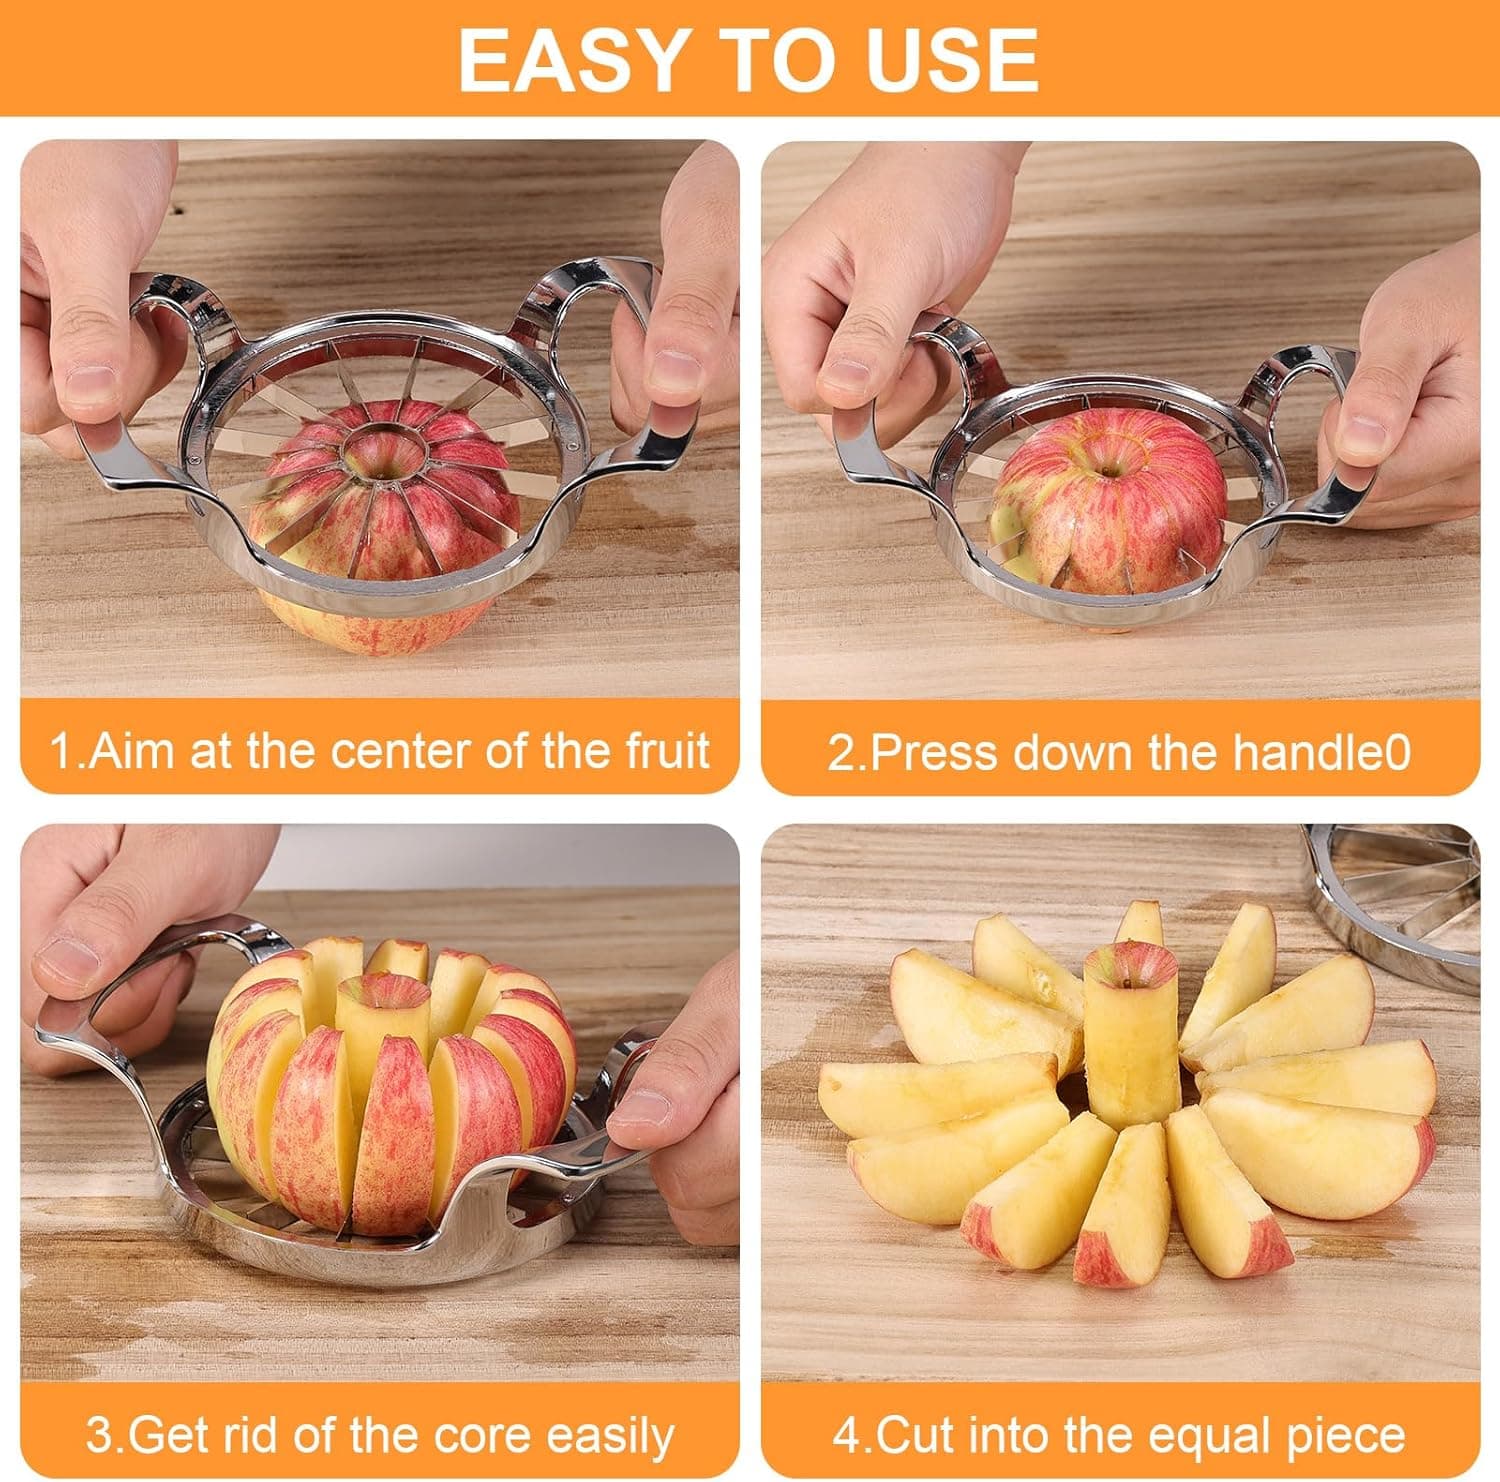
A radial apple cutter places multiple blades around a circular center ring. As the tool moves through the fruit, the outer blades form wedges and the center blade separates the core. The Obsoorth stainless steel model uses 12 blades and is designed to create 12 wedges.
Consistent wedges are useful for snacks, lunch boxes, fruit plates and recipes where pieces should cook or brown at a similar rate. The 4.13-inch opening also gives users a clear size reference before pressing.
Step-by-step
How to use a 12-blade apple slicer
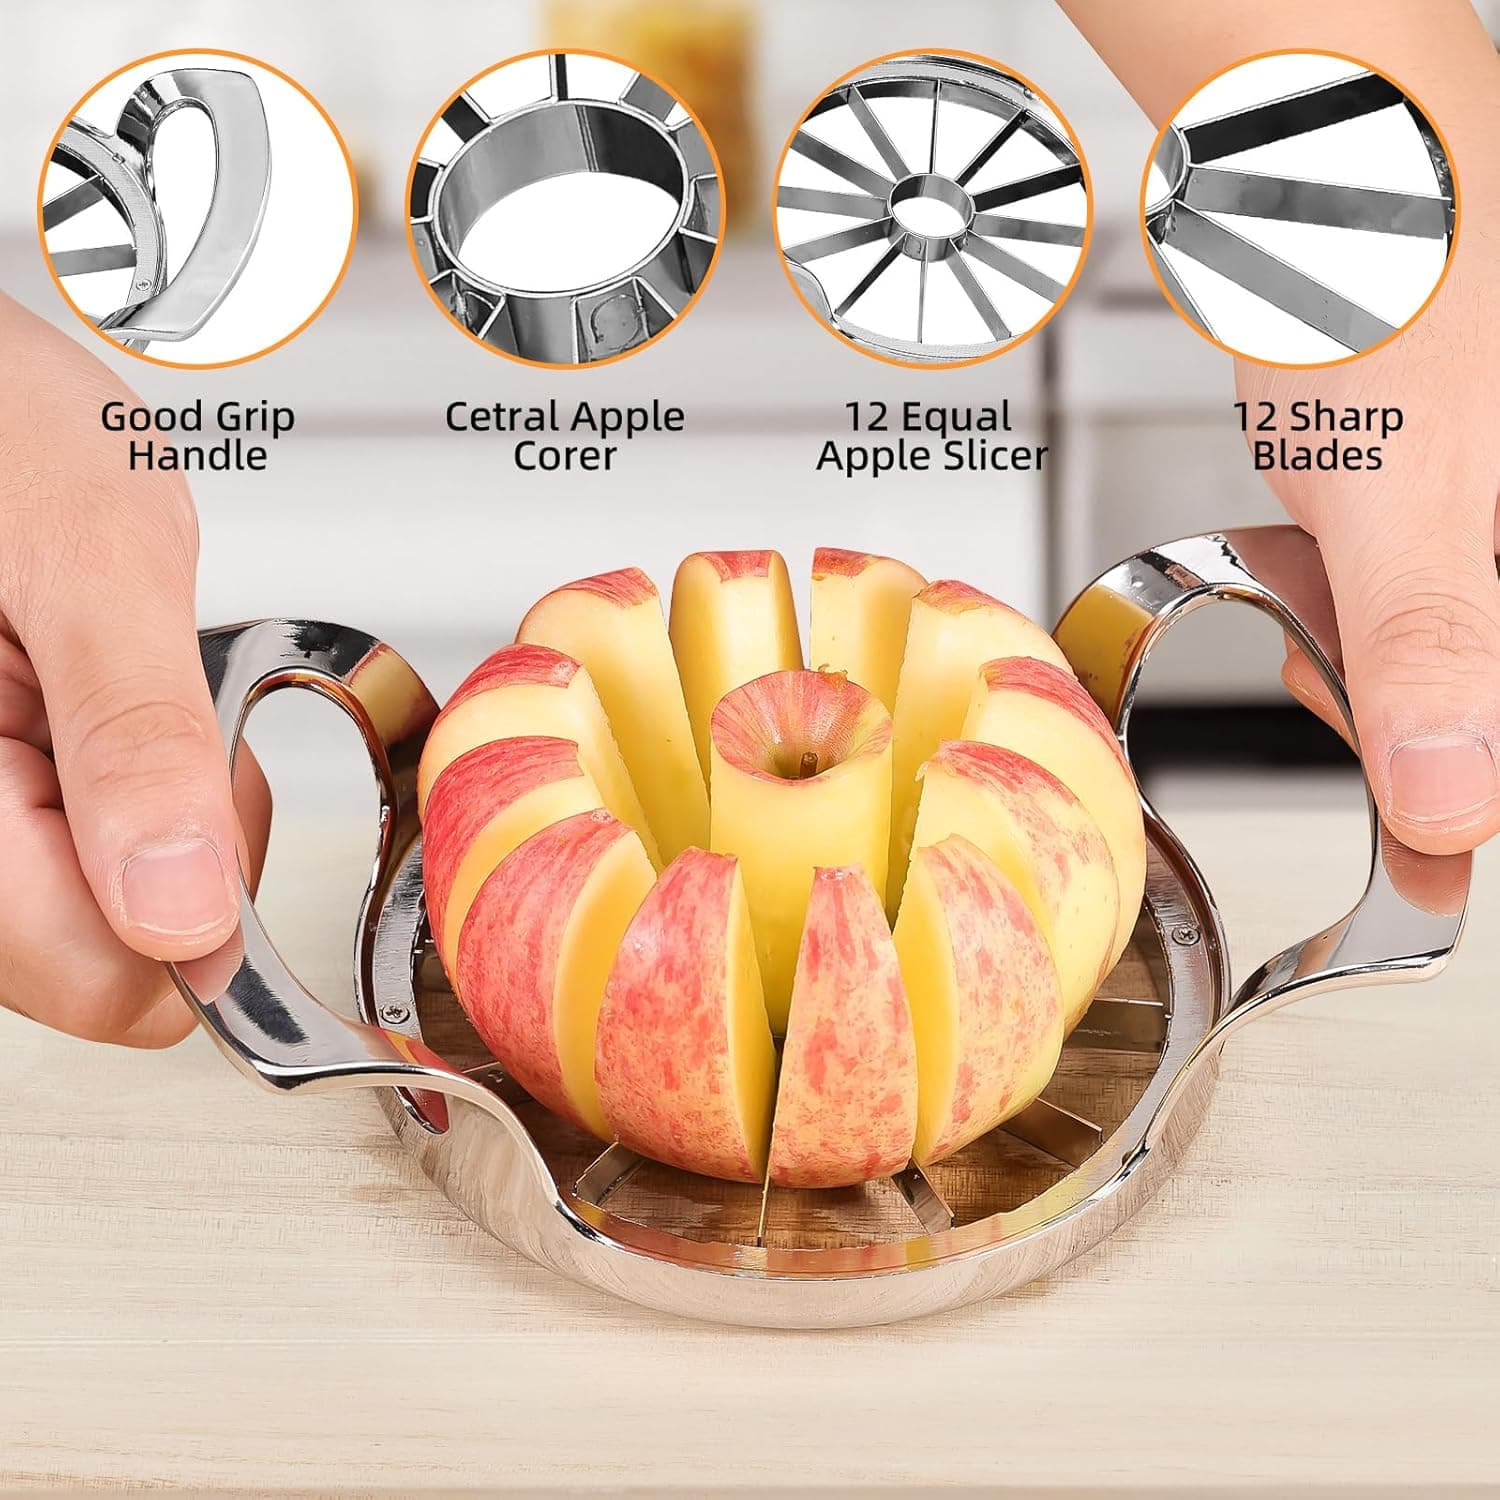
Step 1
Choose an apple that fits the opening
Check the widest part of the apple before cutting. The Obsoorth 12-blade slicer has a 4.13-inch opening, so the fruit should sit comfortably within the blade ring without being forced.
Step 2
Place the apple on a stable cutting surface
Use a flat, slip-resistant cutting board. Set the apple upright with the stem and core centered so the fruit does not roll while pressure is applied.
Step 3
Align the center corer
Position the circular center blade directly over the apple core. Accurate alignment helps separate the core while producing more consistent wedges.
Step 4
Press both handles down evenly
Hold both handles and apply controlled, balanced pressure. Keep fingers above the blade assembly and away from the cutting path. Do not twist the slicer or force it through fruit that is too large or unusually hard.
Step 5
Finish the cut and lift the slicer carefully
Continue pressing until the blades pass through the fruit. Move the wedges away from the blades by their outer edges, then lift the slicer using its handles.
Care and storage
Clean around every blade after use
Apple fibers and peel can remain around the center corer and between the radial blades. Rinse the slicer soon after use so food does not dry in narrow spaces. Use a cleaning brush or water pressure rather than pushing fingers between the blades.
The verified listing identifies this apple slicer as dishwasher safe. Remove visible food first, follow the supplied care guidance and let the tool dry fully before storage. Store it where the cutting edges are not exposed to hands reaching into a crowded drawer.

Before choosing
What should you look for in an apple slicer?
Opening size
Compare the widest part of the fruit with the slicer opening before cutting.
Wedge count
More radial blades create more, narrower wedges in one press.
Center alignment
A clearly visible center corer makes it easier to position the apple core.
Handle shape
Handles should provide space for balanced pressure while keeping hands above the blades.
Cleaning access
Look for a blade layout that can be rinsed and inspected after use.
Storage safety
Plan a dry storage position where the cutting edges will not be contacted accidentally.
See the verified dimensions, product images and feature summary on the Obsoorth 12-Blade Apple Slicer and Corer product page.
Prepare fruit with less repetition
Twelve wedges and the core separated in one press
Explore the Obsoorth stainless steel apple slicer, its 4.13-inch opening and centered 12-blade layout.
Frequently asked questions
Apple slicers, answered
What does an apple slicer do?
An apple slicer divides an apple into wedges while a center ring separates the core. The Obsoorth model uses 12 radial blades to create 12 wedges in one downward press.
Does an apple slicer remove the core?
Yes, when the center corer is aligned with the apple core. Careful alignment is important because an off-center cut can leave part of the core attached to a wedge.
How do I keep an apple slicer from getting stuck?
Use fruit that fits the opening, place it on a stable board, center the corer and press both handles evenly. Avoid twisting or forcing the slicer through oversized or unusually hard produce.
Is the Obsoorth apple slicer dishwasher safe?
The verified product listing identifies the slicer as dishwasher safe. Remove food from the blade area first and follow the care guidance supplied with the product.
How should an apple slicer be stored?
Dry it fully and store it where the blades cannot be reached accidentally. Avoid placing it loose beneath other utensils where someone may contact the cutting edges while searching a drawer.
How many wedges does a 12-blade apple slicer make?
A 12-blade radial slicer is designed to create 12 apple wedges when the fruit is centered and the cut is completed.
Continue reading