Quick Answer
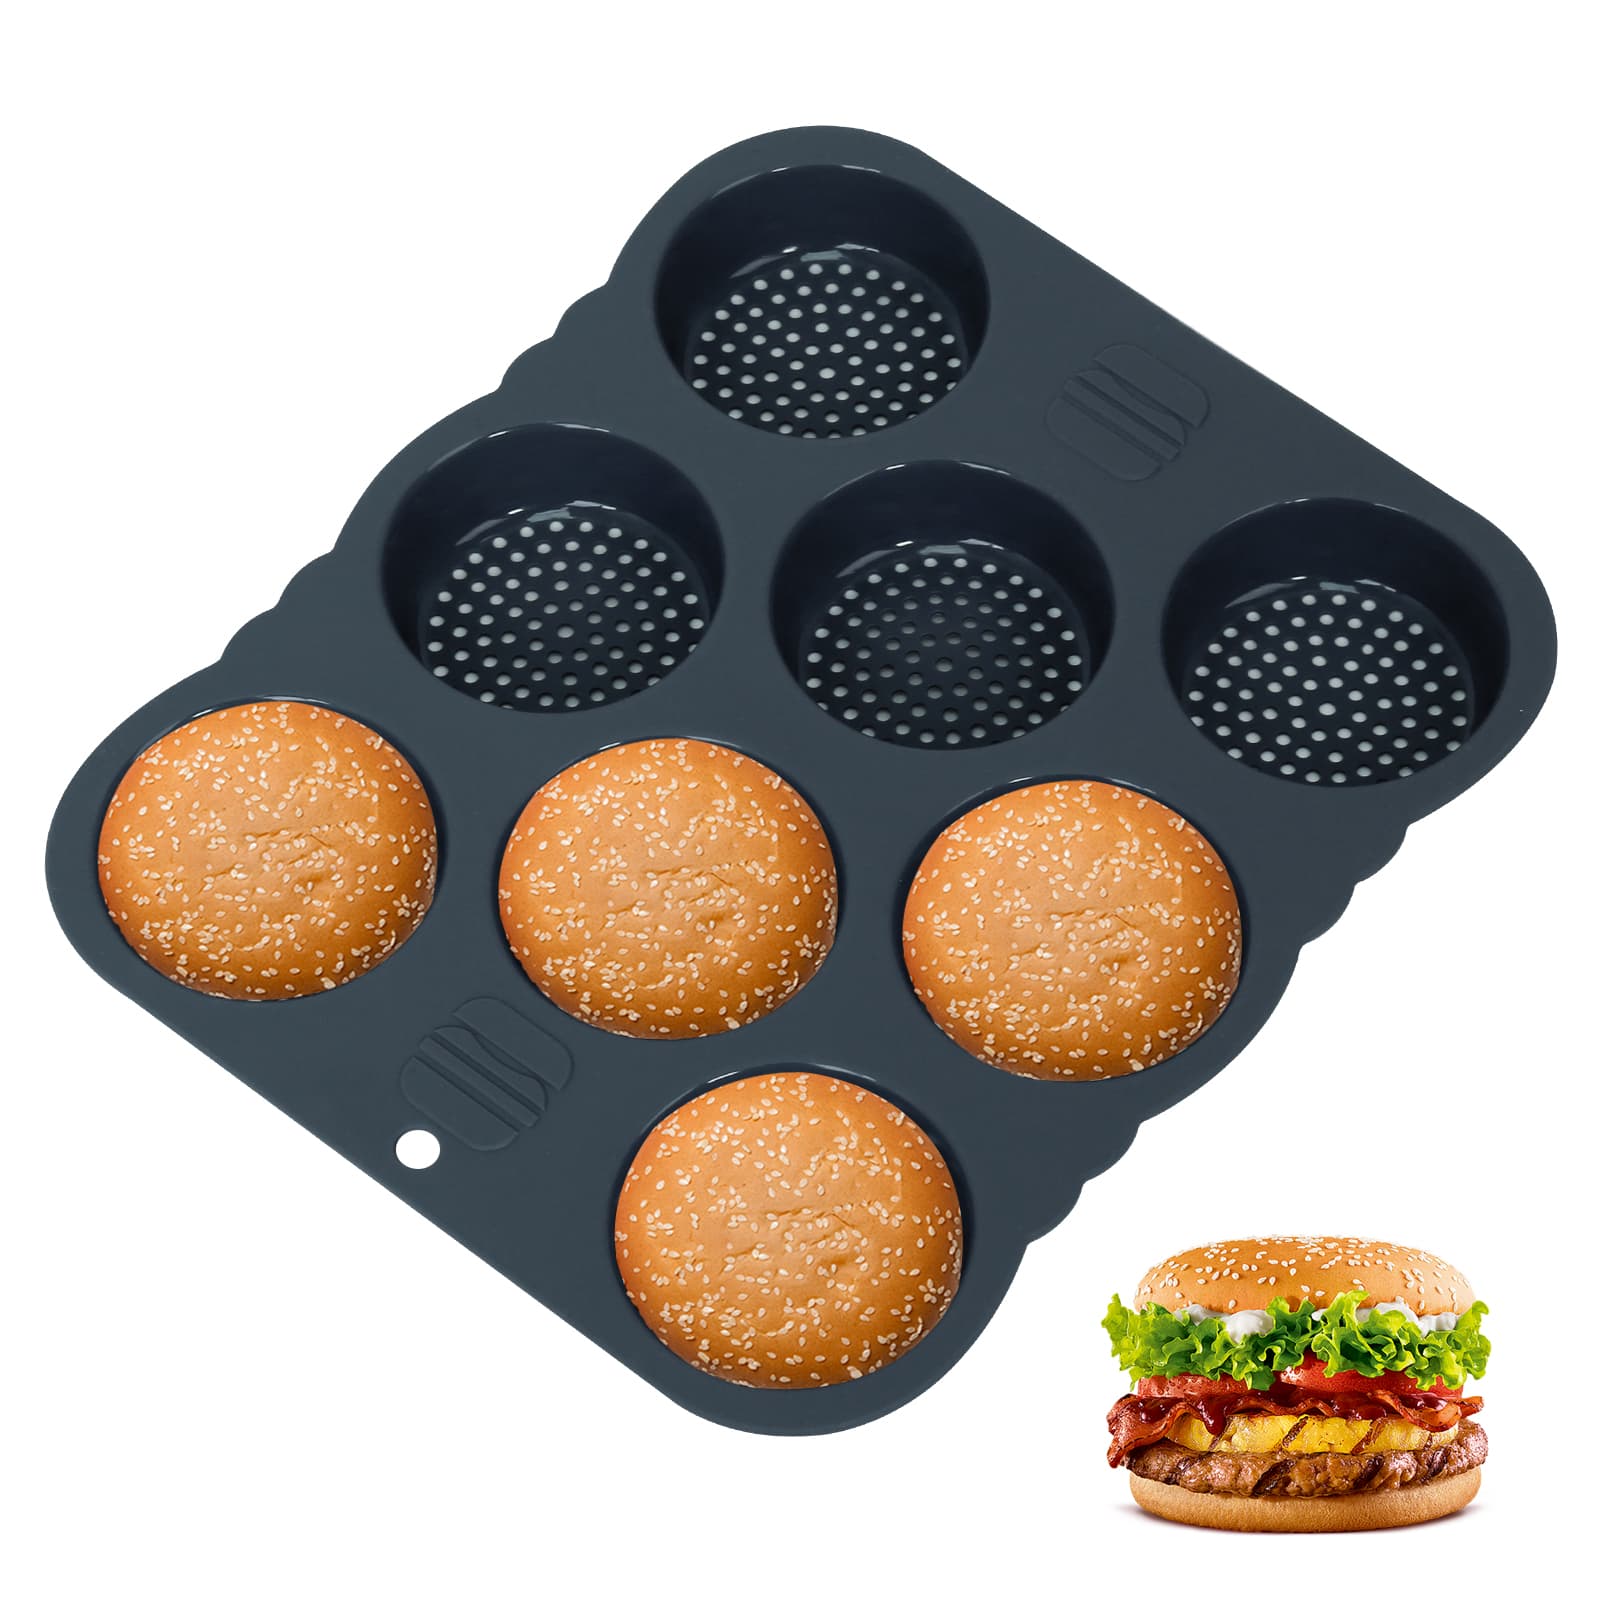
For home bakers making slider buns or small sandwich rolls, use a mini hamburger bun pan by supporting the flexible mold on a rigid rimmed sheet, dividing tested-recipe dough into eight equal portions and centering one shaped round in each cavity. The Obsoorth OB-2004G provides eight 3.15-inch round cavities with perforated bases, but it does not determine one universal dough weight, proofing time or baking schedule. Follow the recipe and exact pan instructions, never taste raw dough, and keep the baking temperature within the lower applicable limit. Move the hot pan on its support sheet, cool the buns before release, and wash and dry the mold fully before storage.
Match the pan to the task
Who is an eight-cavity mini bun pan for?
This format suits home bakers who want eight small, round buns for sliders, appetizer sandwiches or compact servings. Separate cavities make size differences easier to spot before baking. The pan cannot turn an untested formula into a reliable bun recipe or correct portions that began at different weights.
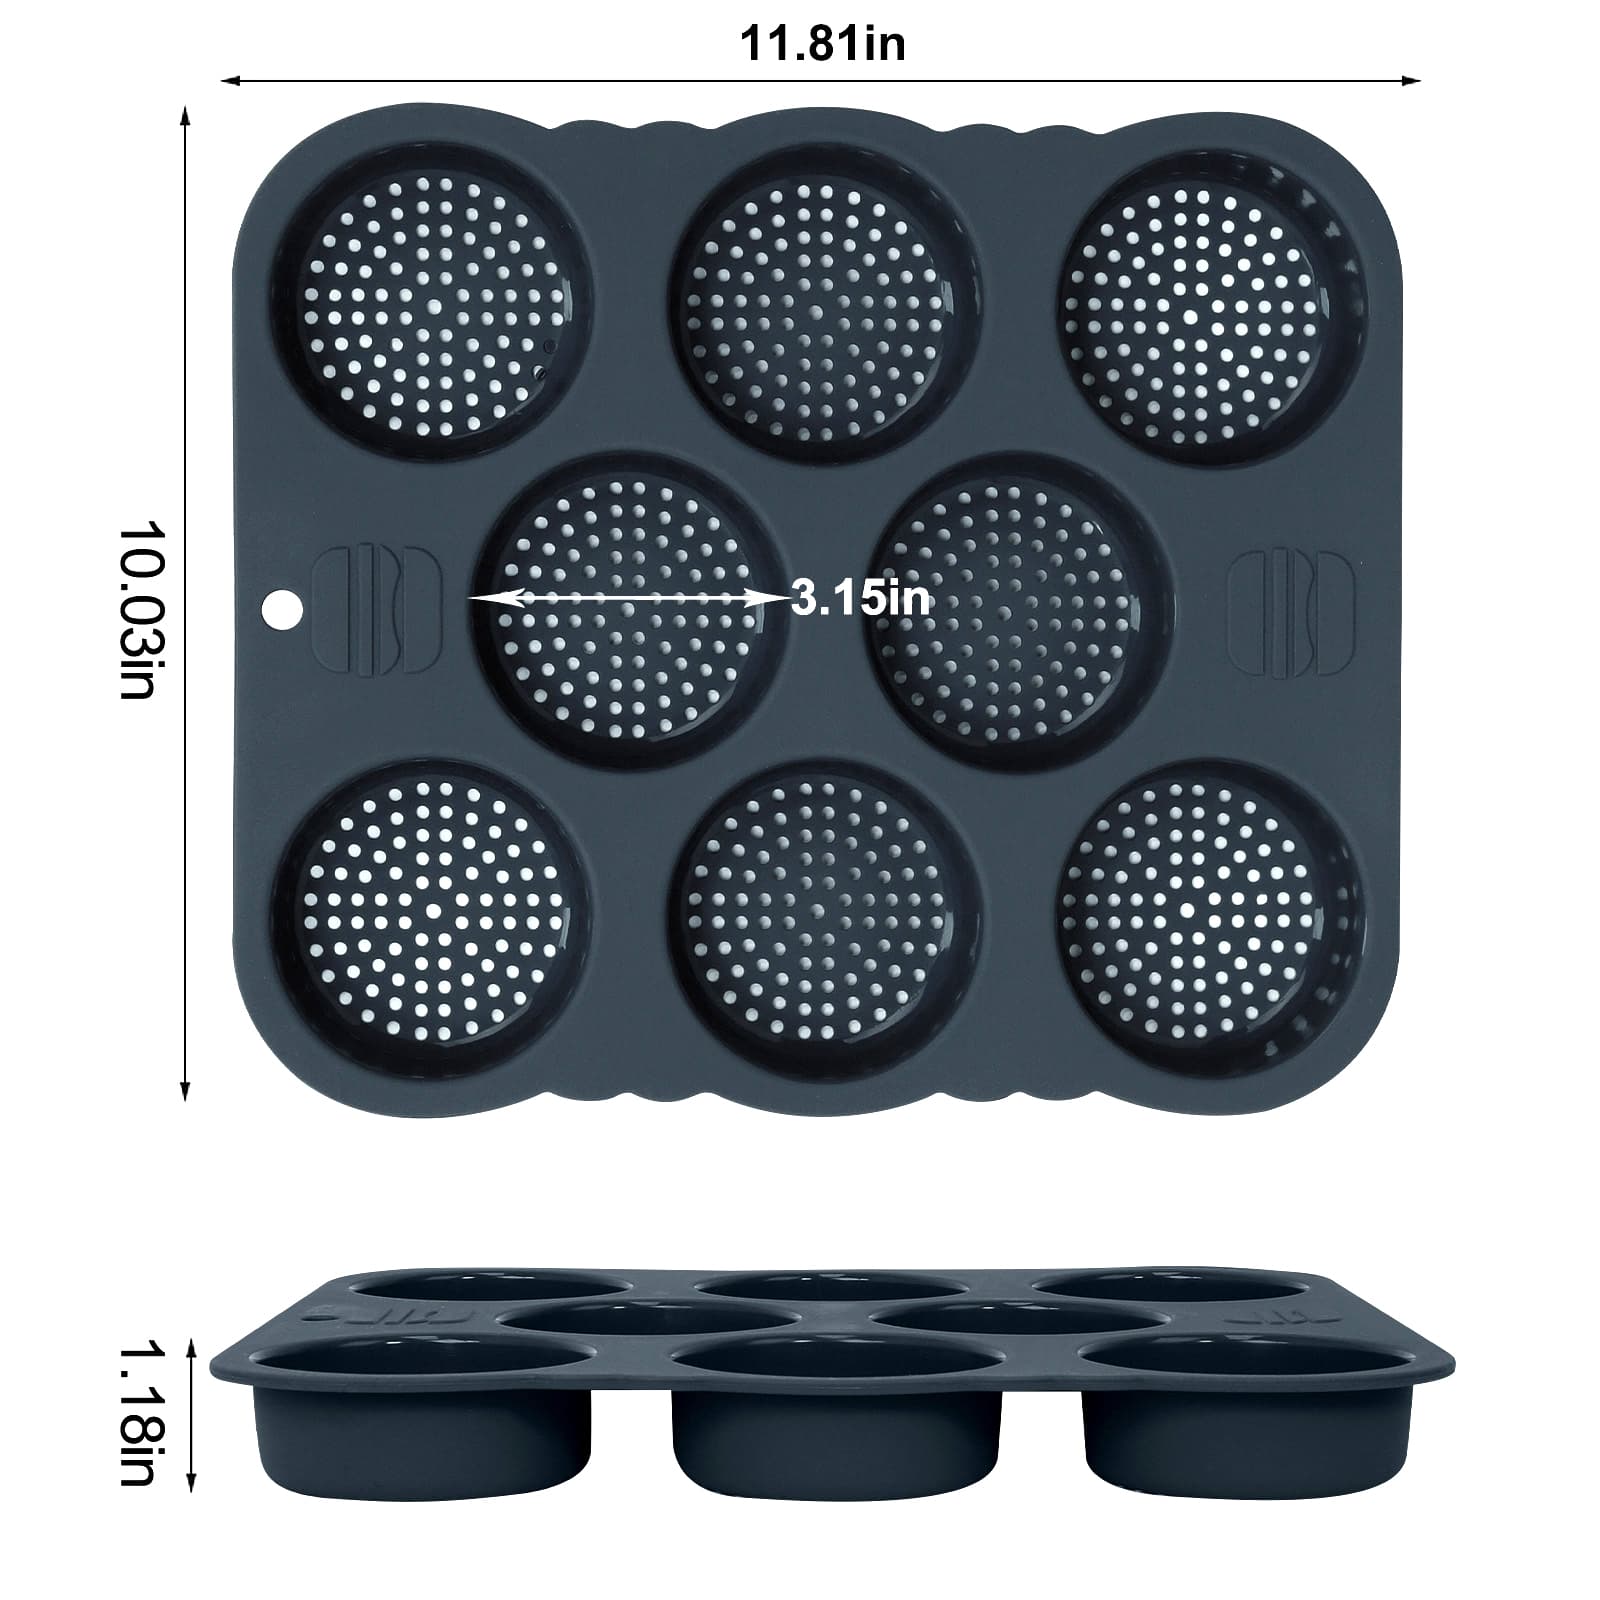
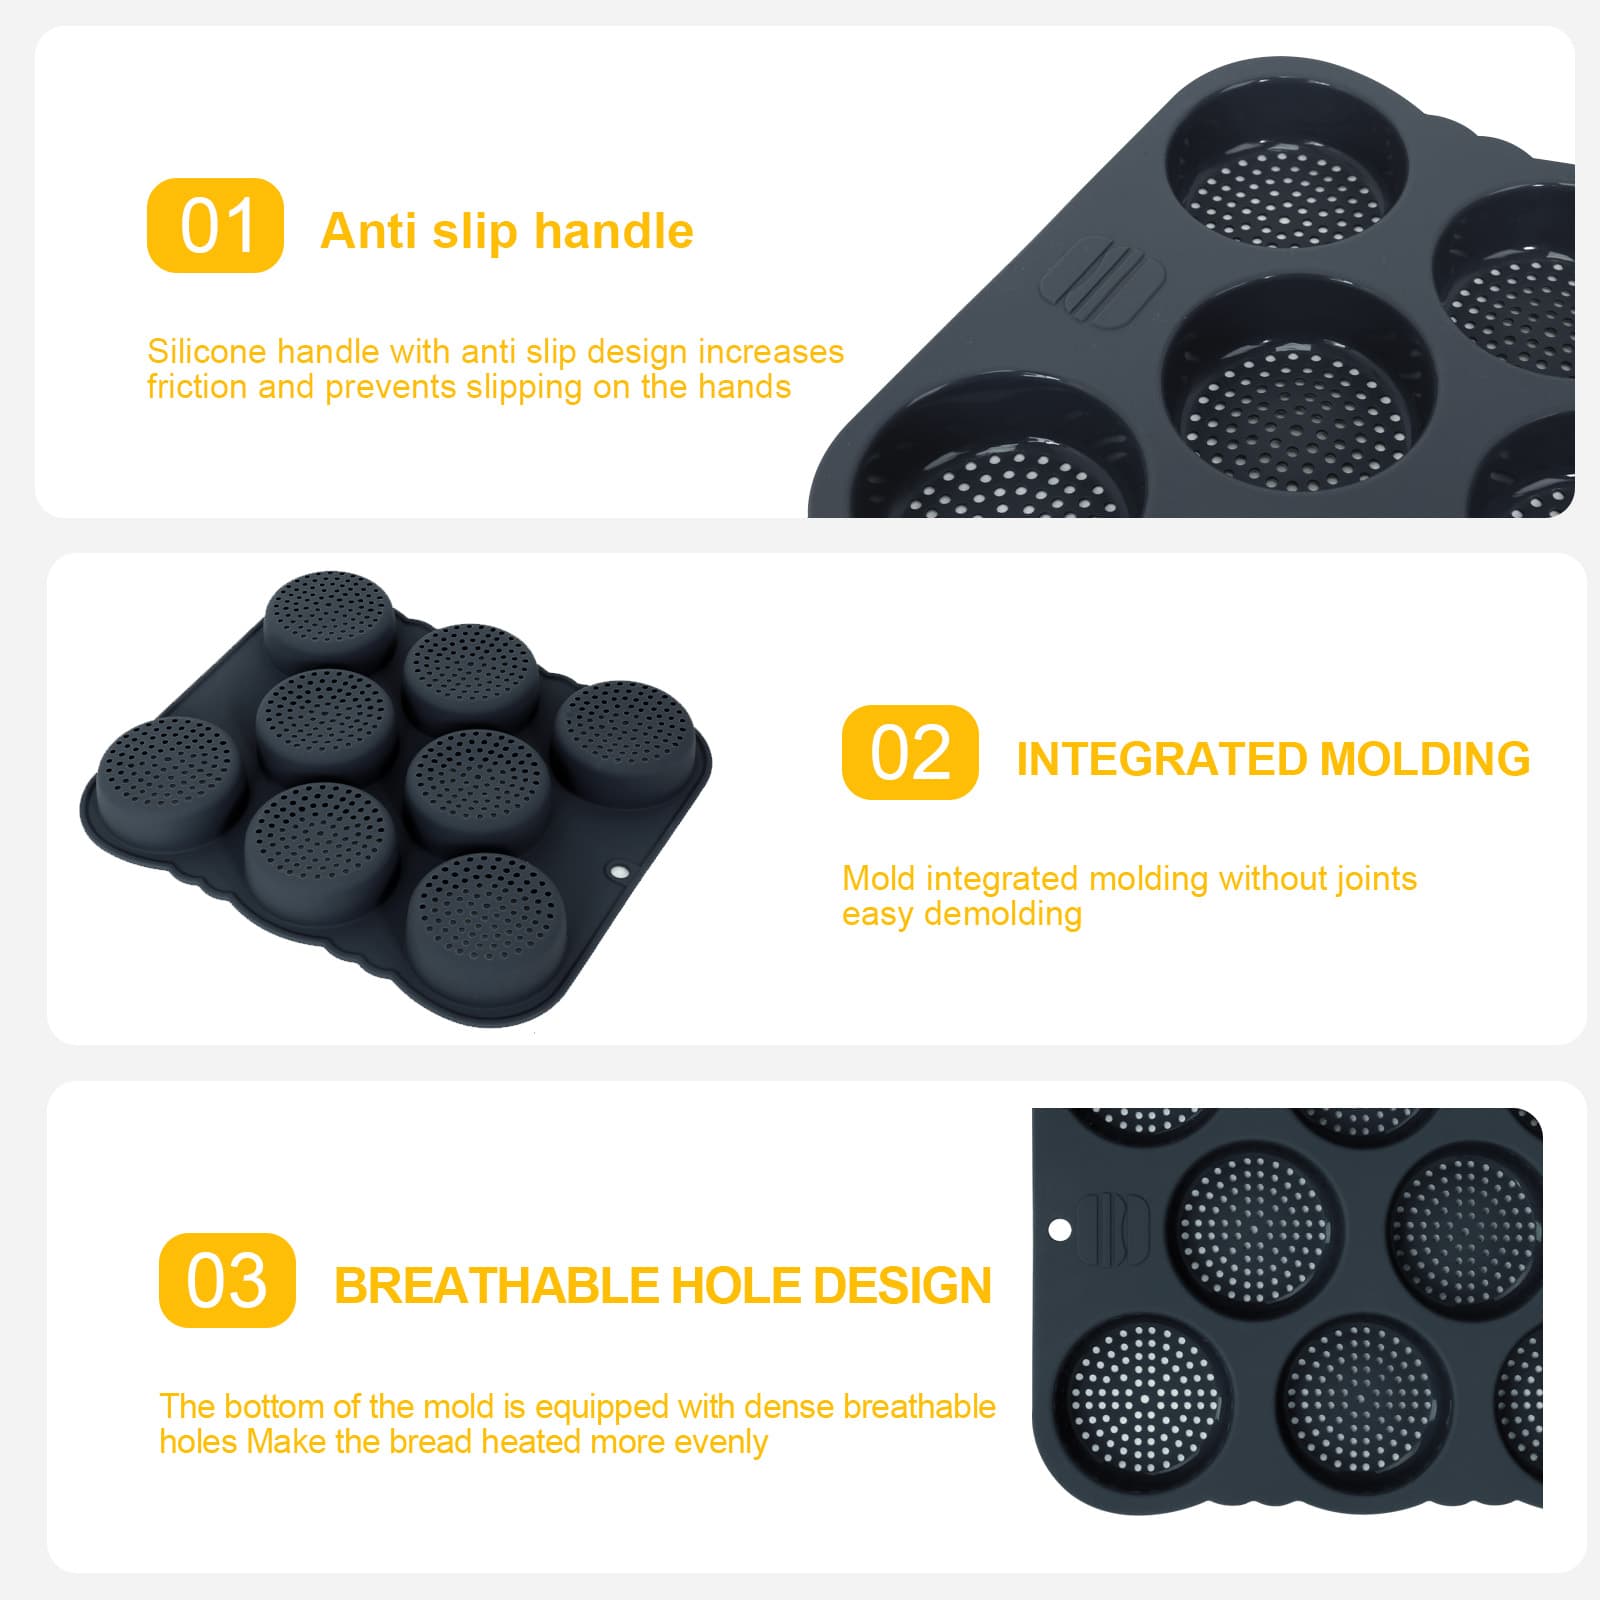
The Obsoorth eight-cavity mini hamburger bun pan is model OB-2004G, ASIN B0FRFPP6XT. Its verified catalog record lists black silicone construction, an overall size of 11.81 × 10.03 × 1.18 inches, eight 3.15-inch round cavities, perforated bases and textured grip areas. Those facts apply to this exact model rather than to silicone bun pans in general.
| Decision point | Verified OB-2004G fact | What still depends on the recipe |
|---|---|---|
| Batch format | Eight independent round cavities | Total dough yield and portion weight |
| Cavity size | 3.15 inches across | Finished bun diameter and height |
| Pan size | 11.81 × 10.03 × 1.18 inches | Oven clearance and support-sheet fit |
| Construction | Flexible black silicone with perforated bases | Greasing method and baking schedule |
| Intended use | Mini hamburger buns, slider buns and sandwich rolls | Ingredients, proofing cues and doneness |
Prepare before portioning
What should you have ready before using the pan?
Choose a tested bun recipe with a stated yield, rise, shaping, proofing and baking method. Have the clean pan, rigid rimmed sheet, scale, oven mitts and cooling rack ready before the first rise ends.
Check that the supported mold sits flat and fits the oven. Keep raw flour, raw eggs and dough away from foods that will not be baked. The FDA identifies flour as a raw food and advises against tasting uncooked dough or batter; it also recommends cleaning hands, utensils and work surfaces after handling flour and dough.
When is this pan not the best fit?
Choose another format when the recipe is designed for a loaf, free-form roll or a larger standard hamburger bun. If you want elongated sub or hot dog rolls, use a cavity shape designed for that job. For four narrow baguette-style rolls, the related four-cavity silicone bread pan guide explains that different workflow.
Step-by-step method
How do you use a mini hamburger bun pan?
Step 1
Inspect, wash and dry the exact pan
Start with a clean OB-2004G pan. Check the cavities, perforated bases and grips for tears, cuts or distortion, and stop if the mold is damaged. Wash and dry it using the exact product instructions.
Step 2
Place the flexible mold on a rigid rimmed sheet
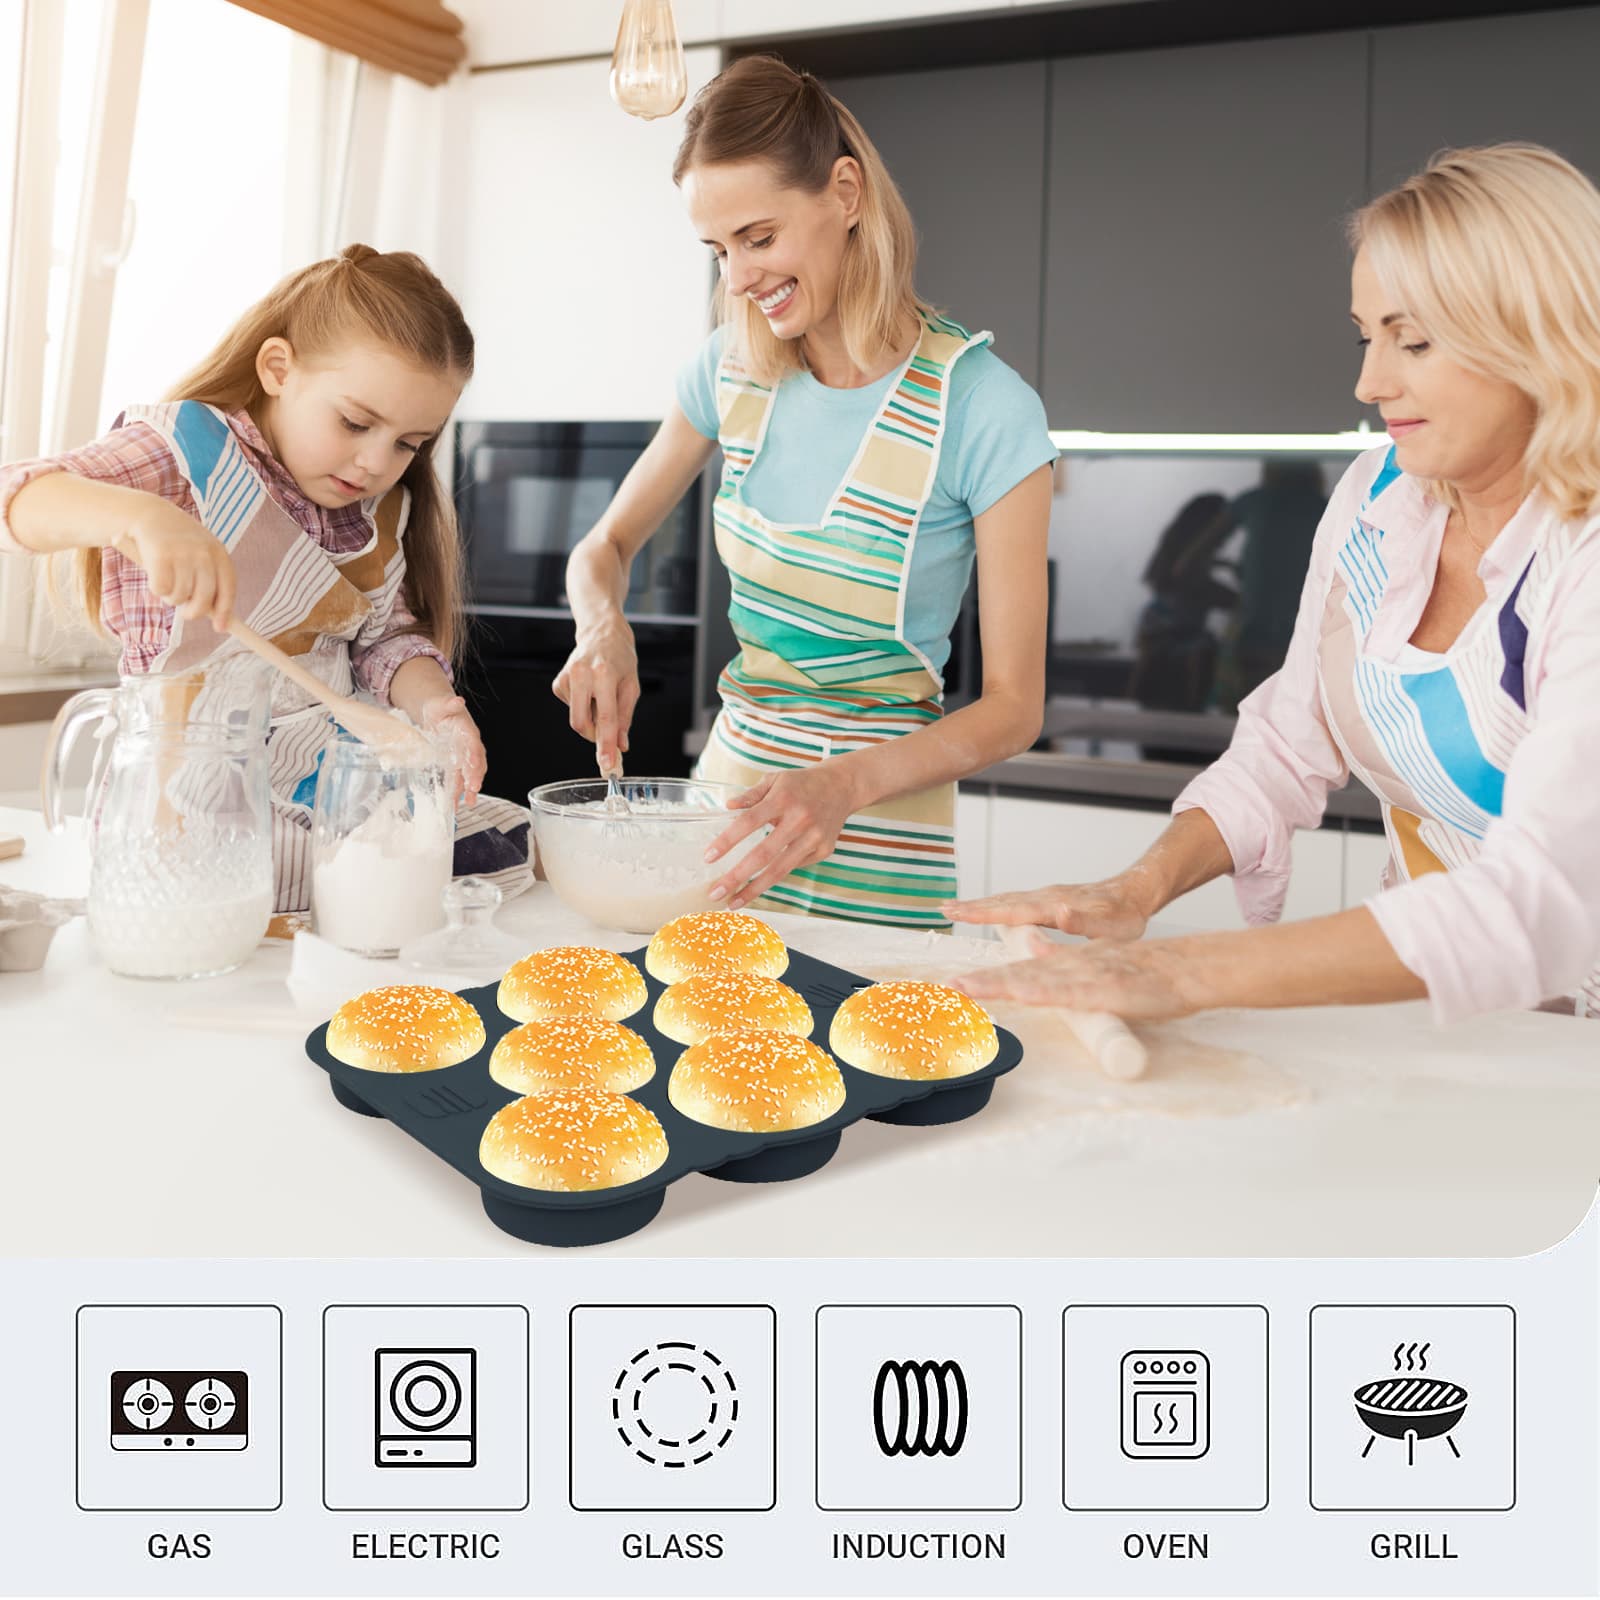
Set the empty mold on a flat, rigid, rimmed baking sheet before adding dough. The support keeps the cavities level and provides a stable transfer surface. Confirm that the supported pan fits the oven before preheating.
Step 3
Prepare a tested bun recipe through its first rise
Follow a tested hamburger-bun or slider-roll recipe through its first rise. The pan shapes dough; it does not replace the recipe. Keep raw flour and dough away from ready-to-eat foods, and do not taste uncooked dough.
Step 4
Divide the dough into eight equal portions
After the first rise, weigh the dough and divide that weight by eight. A scale is the most repeatable method. Follow the recipe's intended yield instead of assuming one universal weight for every 3.15-inch cavity.
Step 5
Shape eight rounds and center them in the cavities
Shape each portion as the recipe directs, keeping the seam underneath when that method applies. Center one portion in each dry cavity. Do not press dough into the perforations or stretch the mold.
Step 6
Complete the final proof using recipe cues
Cover the dough as directed and complete the final rise. Judge readiness by the recipe's visual or touch cue, not by the clock alone. If one portion is much higher, recheck division and proofing conditions.
Step 7
Bake on the support sheet and follow the lower heat limit
Use the recipe's time and temperature only when they also comply with the product instructions. Health Canada advises using silicone bakeware as directed and not above 220°C / 428°F. Rotate only when the recipe calls for it.
Step 8
Move, cool and release the buns carefully
Use oven mitts to move the support sheet, not the flexible pan alone. Cool as directed, then lift the buns without cutting against the silicone. Transfer them to a rack when appropriate and cool the pan before washing.
Correct the workflow
Why are the slider buns uneven or difficult to release?
| Visible problem | Check first | Conservative adjustment |
|---|---|---|
| Some buns are much larger | Portion weights and shaping | Weigh total dough and divide by eight before shaping |
| One side rises higher | Level support and proofing location | Keep the mold flat on a rigid sheet in an even environment |
| Buns crowd over cavity edges | Recipe yield and final-proof stage | Use a recipe suited to small buns and stop proofing at its cue |
| Bottoms stay damp | Cooling time in the warm pan | Transfer baked buns to a rack when the recipe permits |
| Buns resist release | Recipe, cooling and pan condition | Follow the recipe and product care method; never cut against silicone |
Do not automatically add flour, raise the oven temperature or extend the bake. Make one traceable adjustment at a time, beginning with portioning, support and the tested recipe's proofing cues.
Care and maintenance
How should you clean and store the silicone bun pan?
Let the mold cool. Remove crumbs without using a knife or metal scraper against the silicone. Because the verified record does not state a dishwasher method, hand-wash unless the exact instructions say otherwise. Clean both sides and rinse away soap residue.
Air-dry or towel-dry every cavity and perforation before storage. Store the pan flat or in a position where heavy cookware cannot crease or cut it. Inspect it before the next bake and stop using it if the silicone is torn, permanently distorted or otherwise damaged. Do not leave the pan in the oven during a self-cleaning cycle.
Review the exact configuration
Where can you check OB-2004G before buying?
Review the product page for verified dimensions, images, material, model and ASIN, then check configuration and availability on the exact Amazon listing. OB-2004G is the black eight-cavity variant, not a related six-cavity or elongated mold. Browse the Baking Essentials collection for other shapes.
Frequently asked questions
Mini hamburger bun pans, answered
How do you use a mini hamburger bun pan for slider buns?
Support the empty flexible mold on a rigid rimmed sheet, prepare a tested bun recipe and divide the risen dough into eight equal portions. Center one shaped round in each cavity, complete the final proof, bake within both the recipe and pan limits, then cool and release the buns carefully.
How much dough should go in each mini bun cavity?
There is no single verified dough weight that works for every recipe. Weigh the dough after its first rise, divide by eight and follow the recipe's yield and proofing cues so the portions remain equal without overloading the 3.15-inch cavities.
What size buns does the OB-2004G pan make?
The verified product record lists eight round cavities measuring 3.15 inches across. Finished bun size still depends on the dough formula, portion weight, shaping and proofing, so the cavity dimension is a mold measurement rather than a guaranteed baked diameter.
Does a silicone slider bun pan need a baking sheet underneath?
A rigid rimmed sheet is a practical support for loading and moving this flexible mold. It helps keep the cavities level and lets you transfer the pan without relying on soft silicone to carry hot dough or baked buns.
Do I need to grease the mini hamburger bun pan?
The verified catalog describes OB-2004G as a smooth, flexible silicone mold that supports release, but it does not provide a universal greasing rule. Follow the exact pan instructions and the tested recipe, because enriched, lean and gluten-free doughs can behave differently.
What temperature can I use with a silicone bun pan?
Use the lower limit provided by the exact pan instructions and your tested recipe. Health Canada advises using silicone bakeware as intended and not above 220°C / 428°F; that public ceiling does not replace a lower product-specific limit.
Is the OB-2004G mini hamburger bun pan dishwasher safe?
The current verified catalog record does not state that OB-2004G is dishwasher safe. Hand-wash it unless the packaging or instructions supplied with your exact pan explicitly provide a dishwasher method, then dry the cavities and perforations fully before storage.
Sources and review method
What evidence supports this bun-pan workflow?
Model, ASIN, material, dimensions and intended uses come from the verified OB-2004G record, matching images and exact Amazon page checked on Sep 28, 2026. Silicone, raw-flour and yeast-roll guidance was checked against these sources. Recipe amounts, proofing and baking schedules still come from the tested recipe.
1. Health Canada: The Safe Use of Cookware and Bakeware
Government guidance to follow the manufacturer's intended use, keep silicone bakeware at or below 220°C / 428°F and handle hot flexible bakeware carefully.
2. U.S. FDA: Flour Is a Raw Food and Other Safety Facts
Federal guidance explaining that flour is a raw food and that uncooked flour, dough and batter should not be tasted or eaten.
3. New Mexico State University Extension: Breadmaking
University extension instructions covering kneading, first and final rises, baking rolls and cooling baked bread on wire racks.
4. University of Maine Cooperative Extension: Homemade Convenience Mix Recipes
Extension recipes showing bun and yeast-roll workflows that shape portions, allow a final rise and bake according to a tested method.
About the author
Obsoorth Editorial Team
The editorial team prepares product-use guidance from verified catalog records, matching product assets, exact marketplace pages and cited external references. The team separates model-specific facts from recipe-dependent variables and removes unsupported performance, health and safety claims.