Quick Answer
To use a silicone bread loaf pan, place the empty flexible mold on a rigid baking sheet before filling it. Divide prepared dough into four similar logs, proof and bake them according to a tested recipe that also stays within the pan's supplied instructions, then keep the hot mold supported while it cools. The Obsoorth OB-2002G is suited to home bakers shaping four baguette-style loaves, sub rolls or hot dog buns, but its verified product data does not provide a universal dough weight, bake time or cleaning method. Use recipe-specific cues for doneness, release the rolls by easing the silicone away from the bread and hand wash unless your own packaging confirms another care method.
Before you mix
Check whether a four-cavity pan fits your recipe and oven
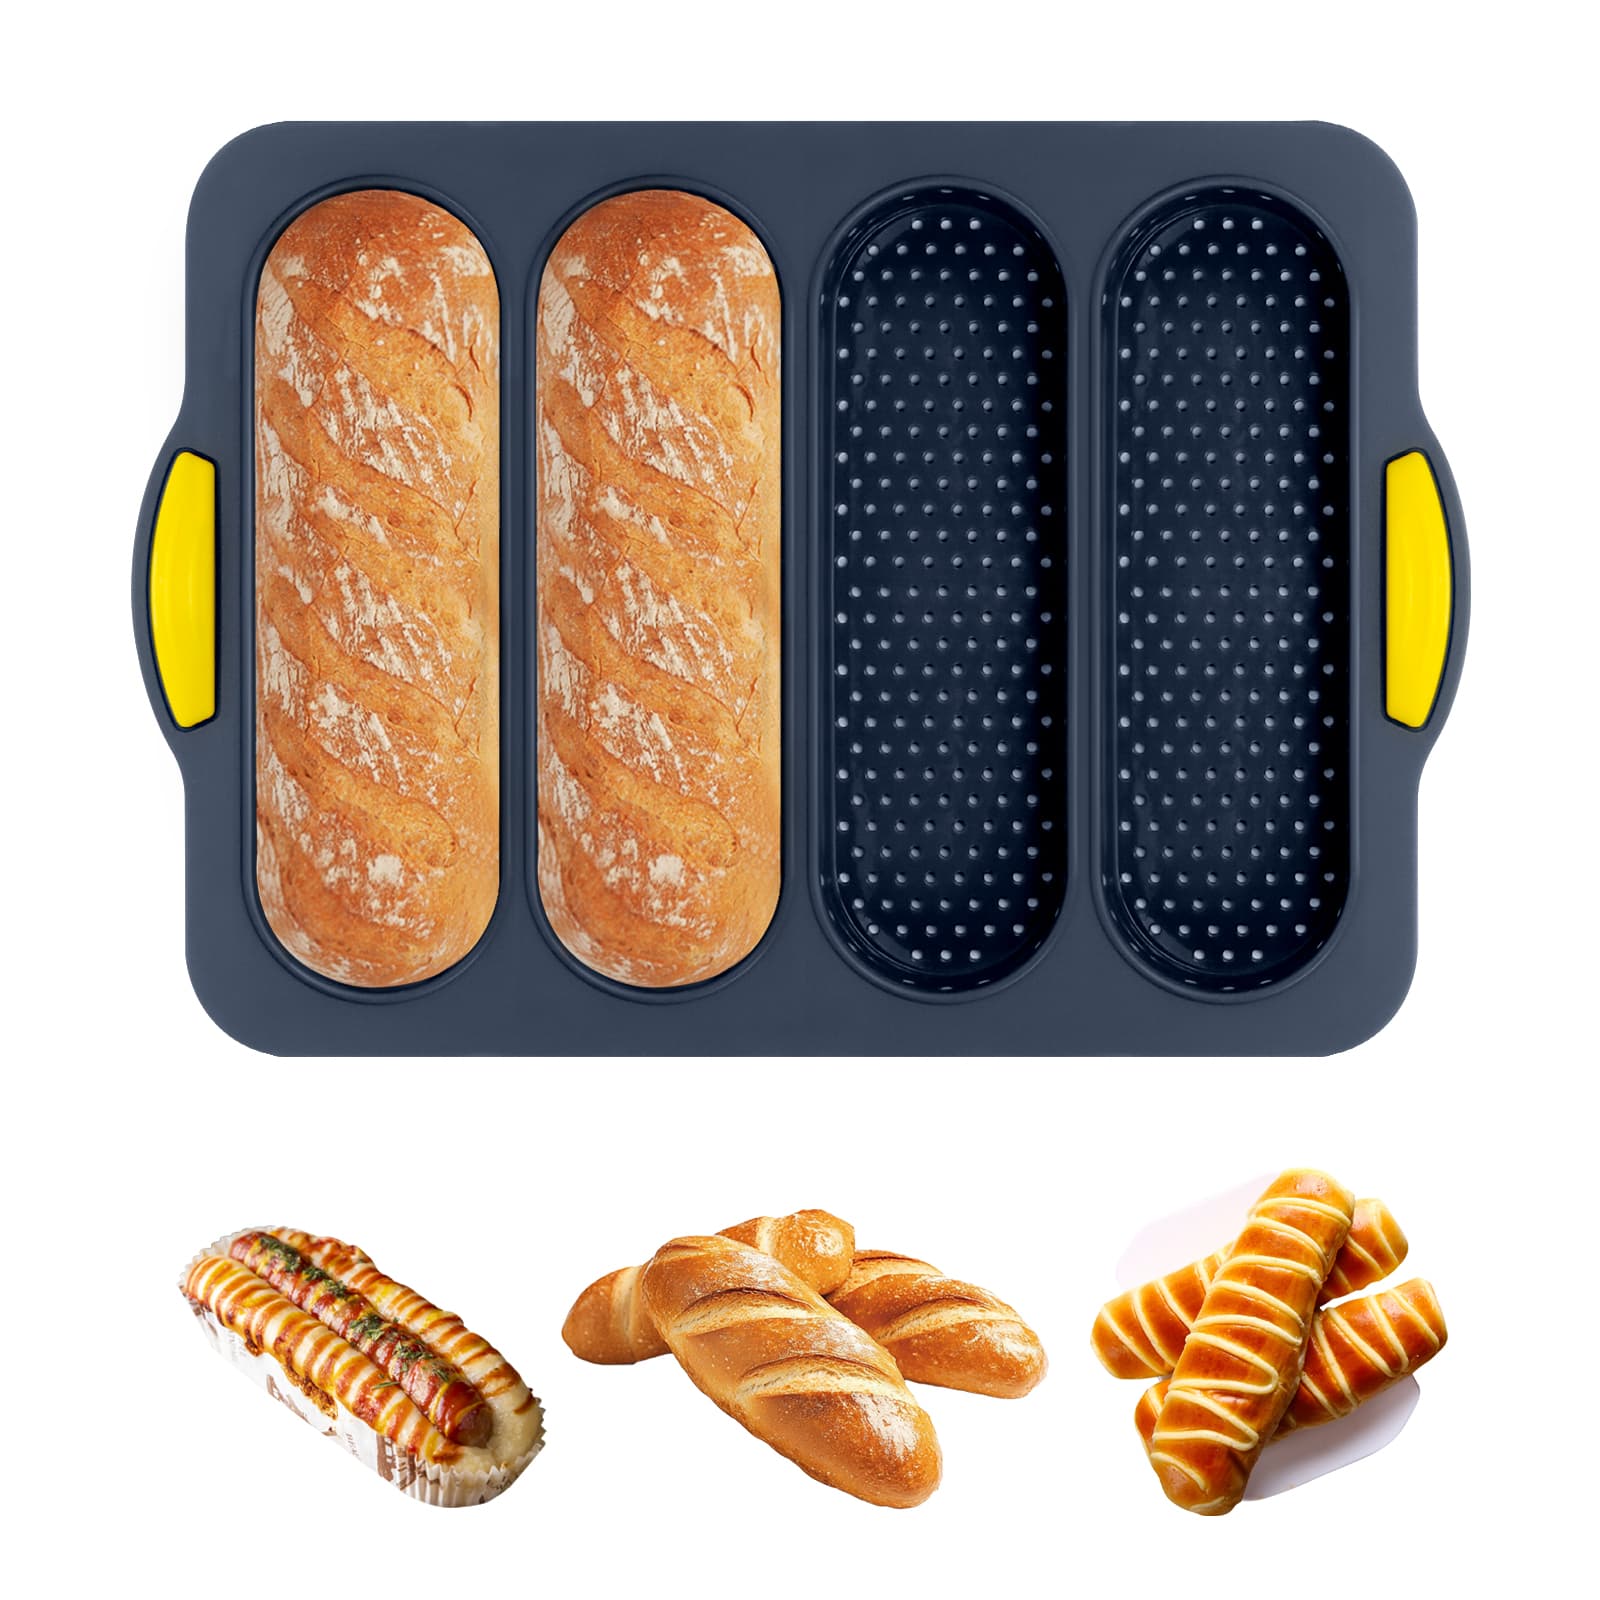
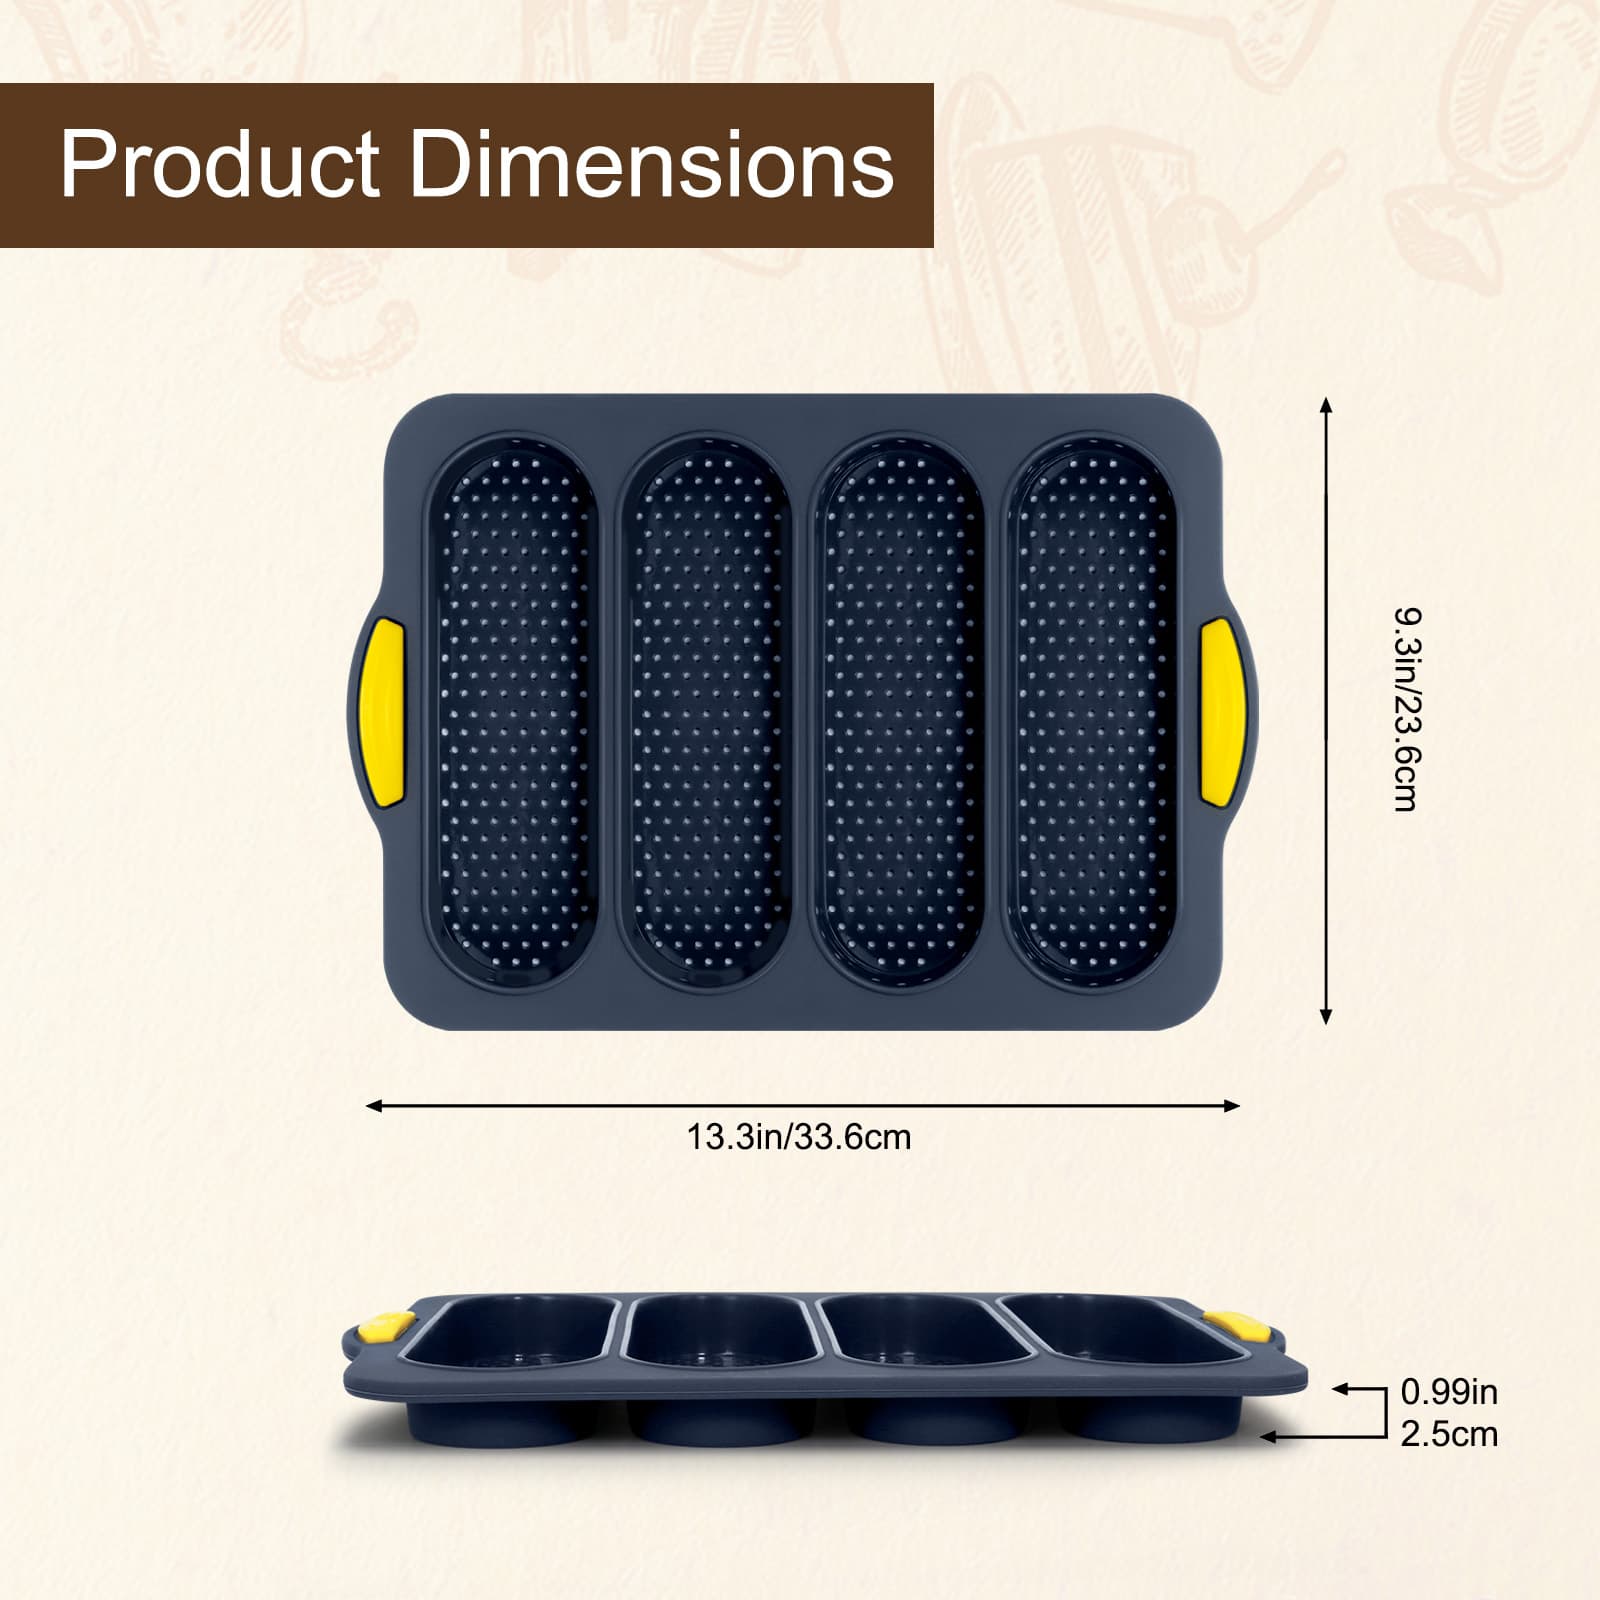
This workflow is for a home baker making four narrow rolls instead of one large loaf. Model OB-2002G has elongated cavities, perforated bases, a flexible silicone body and side grip areas. The complete pan measures 13.3 × 9.3 × 0.99 inches (33.6 × 23.6 × 2.5 centimeters), so check both the oven rack and the rigid baking sheet before preparing dough.
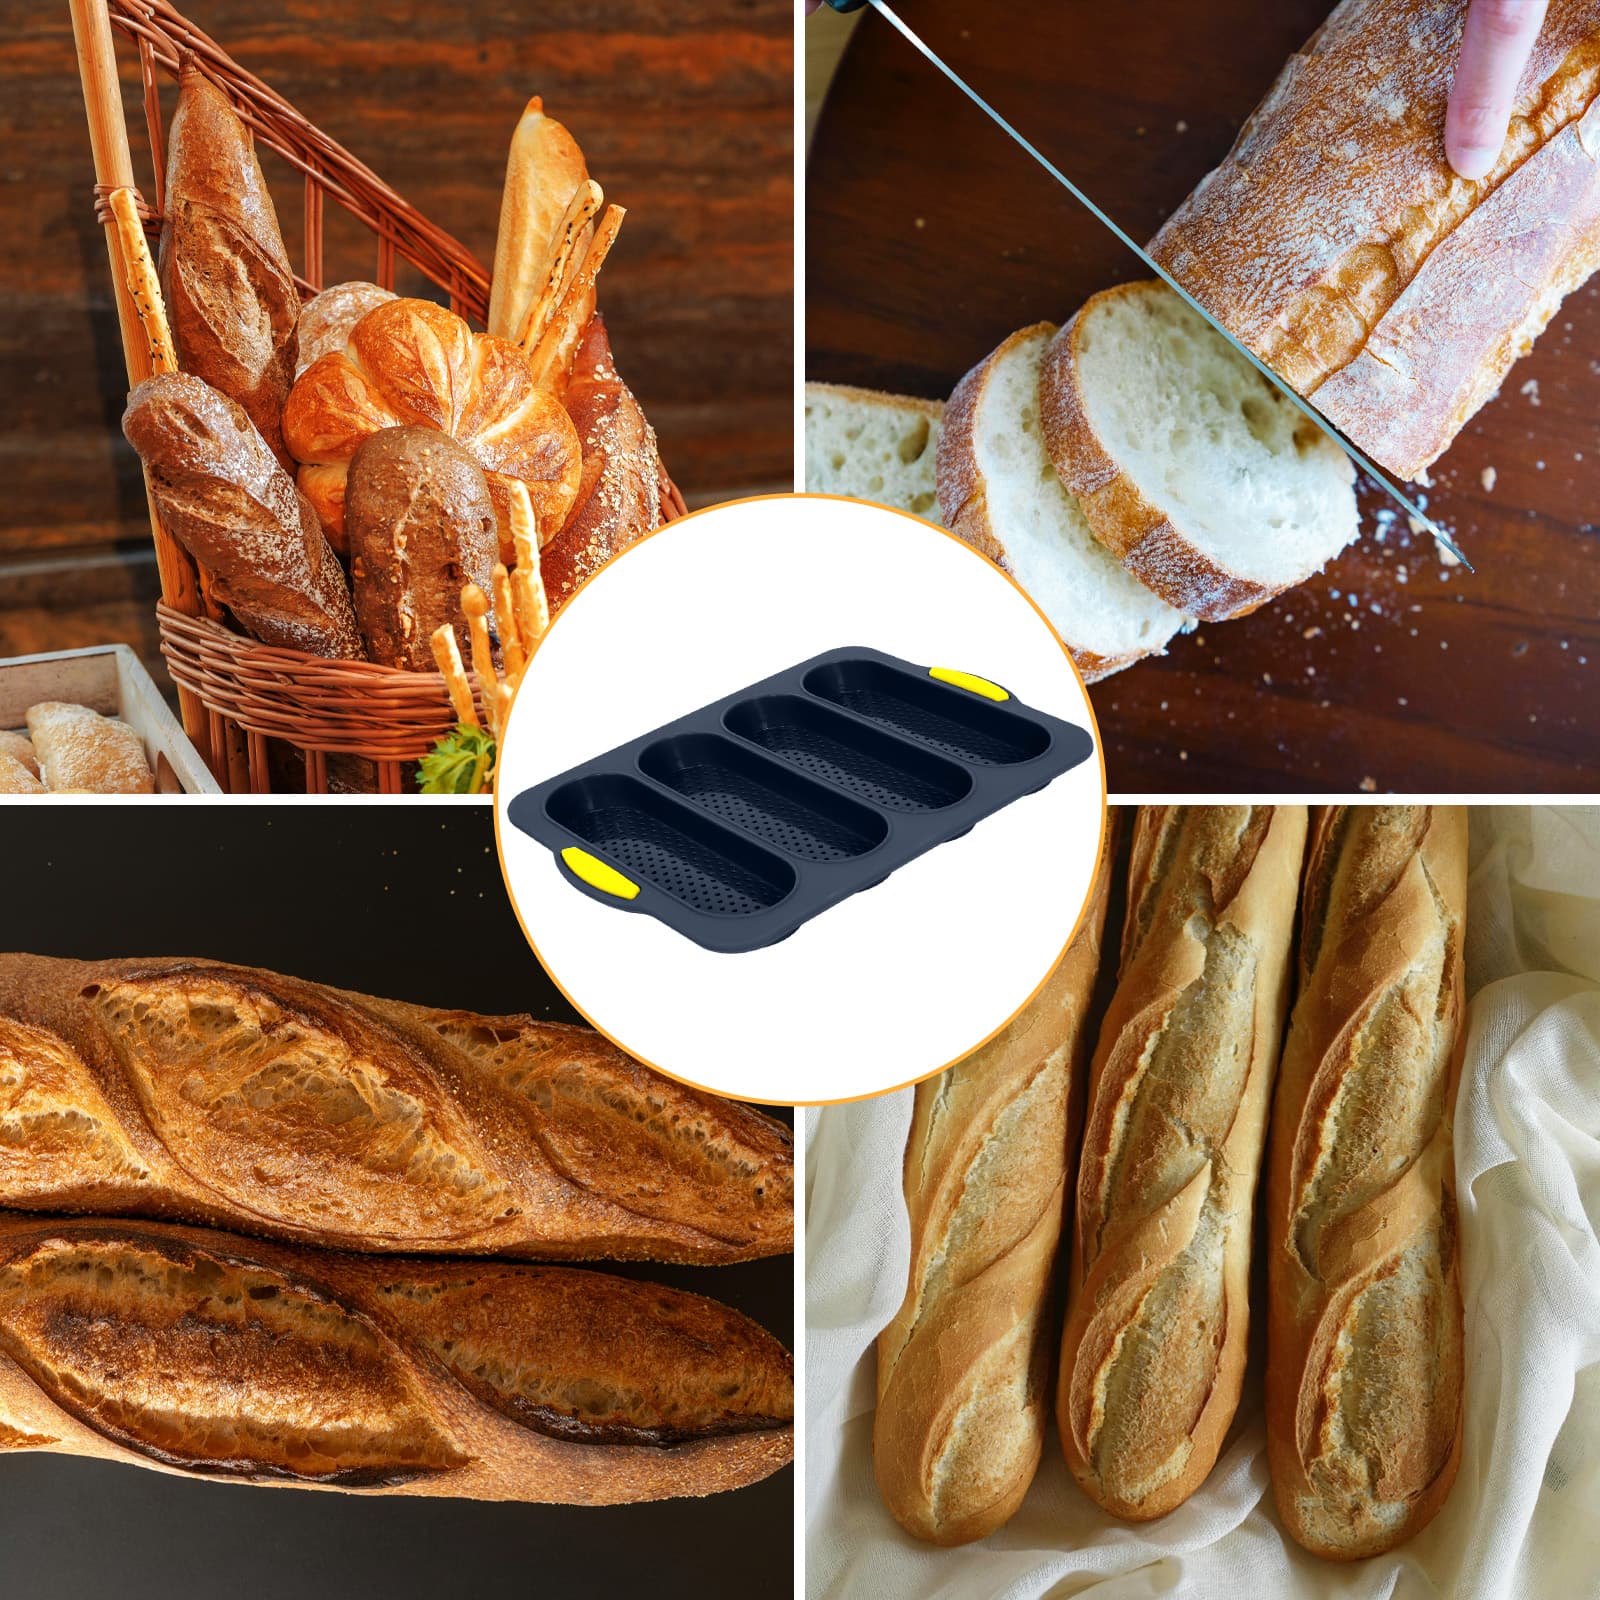
Choose a recipe intended for a similar bread shape. Baguette-style loaves, sub rolls and hot dog buns are verified uses for this product. A full-size sandwich loaf, a free-standing artisan boule or a recipe that needs a deeper vessel has a different geometry; use the bakeware the recipe specifies rather than forcing that dough into shallow elongated cavities.
Use this setup when
- Your recipe makes narrow rolls or small baguette-style loaves.
- You want four guided shapes from one baking session.
- You have a flat metal sheet large enough to support the mold.
- Your recipe temperature stays within the pan instructions.
Choose another pan when
The recipe calls for one deep loaf, the filled mold would not sit completely on a rigid sheet, the oven has only direct-flame or broiler-style exposure, or the supplied product instructions do not confirm the planned use.
Choose the workflow
Compare a four-cavity silicone pan with free-form rolls
A cavity pan guides shape; free-form baking gives the baker more control over custom sizes. Neither method replaces a tested recipe, and both can use a metal baking sheet. The practical differences below help you match the tool to the result you want.
| Decision point | Four-cavity silicone pan | Free-form on a sheet | Best fit |
|---|---|---|---|
| Shape guidance | Four elongated cavities support similar outlines. | The baker shapes and spaces every piece. | Use cavities for a repeatable four-roll batch. |
| Handling | Flexible; place it on a rigid sheet before filling. | Dough rests directly on the prepared sheet. | Use silicone when you can keep it fully supported. |
| Exterior color | May brown differently from a metal surface. | Metal directly conducts heat beneath the dough. | Judge doneness from the recipe and several cues. |
| Size flexibility | Best for portions that fit the elongated cavities. | Allows custom lengths and wider shapes. | Choose the sheet for nonstandard shapes. |
Step-by-step
Follow eight steps to use a silicone bread loaf pan
Step 1
Check the pan, oven and recipe before mixing
Read the care information supplied with your pan and confirm that your chosen bread recipe stays within its stated oven-use limits. Use a recipe written for baguette-style loaves, sub rolls or hot dog buns; this guide explains the pan workflow, not a substitute dough formula. Inspect the mold for damage and start with clean, dry cavities.
Step 2
Set the silicone mold on a rigid baking sheet
Place the empty mold on a flat metal baking sheet before adding dough. Flexible silicone can bend when lifted, while the rigid sheet keeps all four cavities level from the counter to the oven. Confirm that the 13.3 by 9.3-inch mold fits fully on the sheet without an edge hanging over.
Step 3
Prepare the cavities as the recipe directs
Do not assume that every dough or silicone mold needs the same release treatment. If the product instructions or your tested recipe calls for a light coating, apply it evenly; otherwise begin with the clean, smooth cavities as directed. Keep sprays, parchment and flour away from the perforations unless the recipe specifically requires them.
Step 4
Divide and shape the dough into four portions
After mixing and any first rise required by your recipe, divide the dough into four similar portions. A kitchen scale is useful when consistency matters, but the target weight must come from the recipe because the verified product data does not specify a dough capacity. Shape each portion into a compact log that sits inside one elongated cavity without being forced against the ends.
Step 5
Proof the rolls while the mold stays supported
Leave the silicone mold on its baking sheet during the final rise so the cavities stay level. Follow the recipe's visual cue or stated proofing method instead of waiting for an arbitrary fixed time. Stop before expanding dough crowds across neighboring cavities or spills over the outside edge of the mold.
Step 6
Bake at the recipe temperature and monitor the finish
Move the supported mold to the oven and use the rack position, temperature and timing in your recipe, provided they also comply with the pan instructions. Silicone does not behave exactly like metal bakeware, so begin checking at the recipe's normal doneness window rather than adding an unverified amount of time. Keep the mold away from direct flame, a stovetop burner and heating elements.
Step 7
Confirm doneness with more than one cue
Look for the color and surface finish expected by your recipe and check the structure of the rolls. An instant-read thermometer can support the decision when the recipe gives a target, but King Arthur Baking advises using temperature with sensory cues rather than relying on one number alone. Avoid cutting a roll open while it is still inside the silicone cavity.
Step 8
Cool, release and transfer the rolls
Use oven mitts to remove the rigid sheet and keep the flexible mold supported on a heat-safe surface. Allow the bread to settle as directed by the recipe, then gently pull the silicone edge away from one cooled-enough roll and lift the bread without using a knife against the mold. Move the rolls to a wire rack and let them cool before slicing or wrapping.
Troubleshooting
Avoid five common silicone bread pan mistakes
Lifting a filled flexible mold by itself
Move the mold on a rigid sheet so dough portions stay level and hot bread does not shift unexpectedly.
Guessing a universal dough amount
Use the recipe yield and divide it consistently; no verified capacity per OB-2002G cavity is published.
Expecting metal-pan browning
Silicone can color bread differently. Follow the recipe and use several doneness cues instead of color alone.
Using a knife inside the cavity
Transfer bread to a board before slicing so a sharp edge does not contact the silicone surface.
Treating a general guide as the product limit
The instructions supplied with your exact pan control temperature, appliance and care decisions.
After baking
Clean and store the silicone pan conservatively
Let the mold cool before cleaning it. Remove crumbs from the cavities and perforations, then wash with warm water, mild dish soap and a soft sponge or non-abrasive brush. Wilton's general silicone-care guidance also favors non-abrasive cleaning tools. The verified OB-2002G record does not confirm dishwasher use, so hand washing is the supported default unless the packaging that came with your pan says otherwise.
Rinse away soap, check the perforations and dry the pan fully before storage. Store it flat or in a position where heavy items do not press the cavities out of shape. Keep knives, metal scrapers and other sharp utensils away from the surface.
Product match
Review the exact OB-2002G pan before choosing
The gray Obsoorth four-cavity silicone bread loaf pan is model OB-2002G, made from silicone and listed under ASIN B0FL24MC59. Compare its verified dimensions and elongated cavity format with your recipe, oven and baking sheet. You can also browse the Baking Essentials collection or read Small Kitchen Upgrades for broader kitchen-preparation ideas.
Frequently asked questions
Silicone bread loaf pans, answered
Do you put a silicone bread loaf pan on a baking sheet?
Yes, a rigid baking sheet is a practical support for a flexible silicone bread pan. It keeps the cavities level while you fill, proof, transfer and bake the dough, and Wilton gives the same stability recommendation for silicone bakeware in general.
Do you need to grease a silicone bread pan?
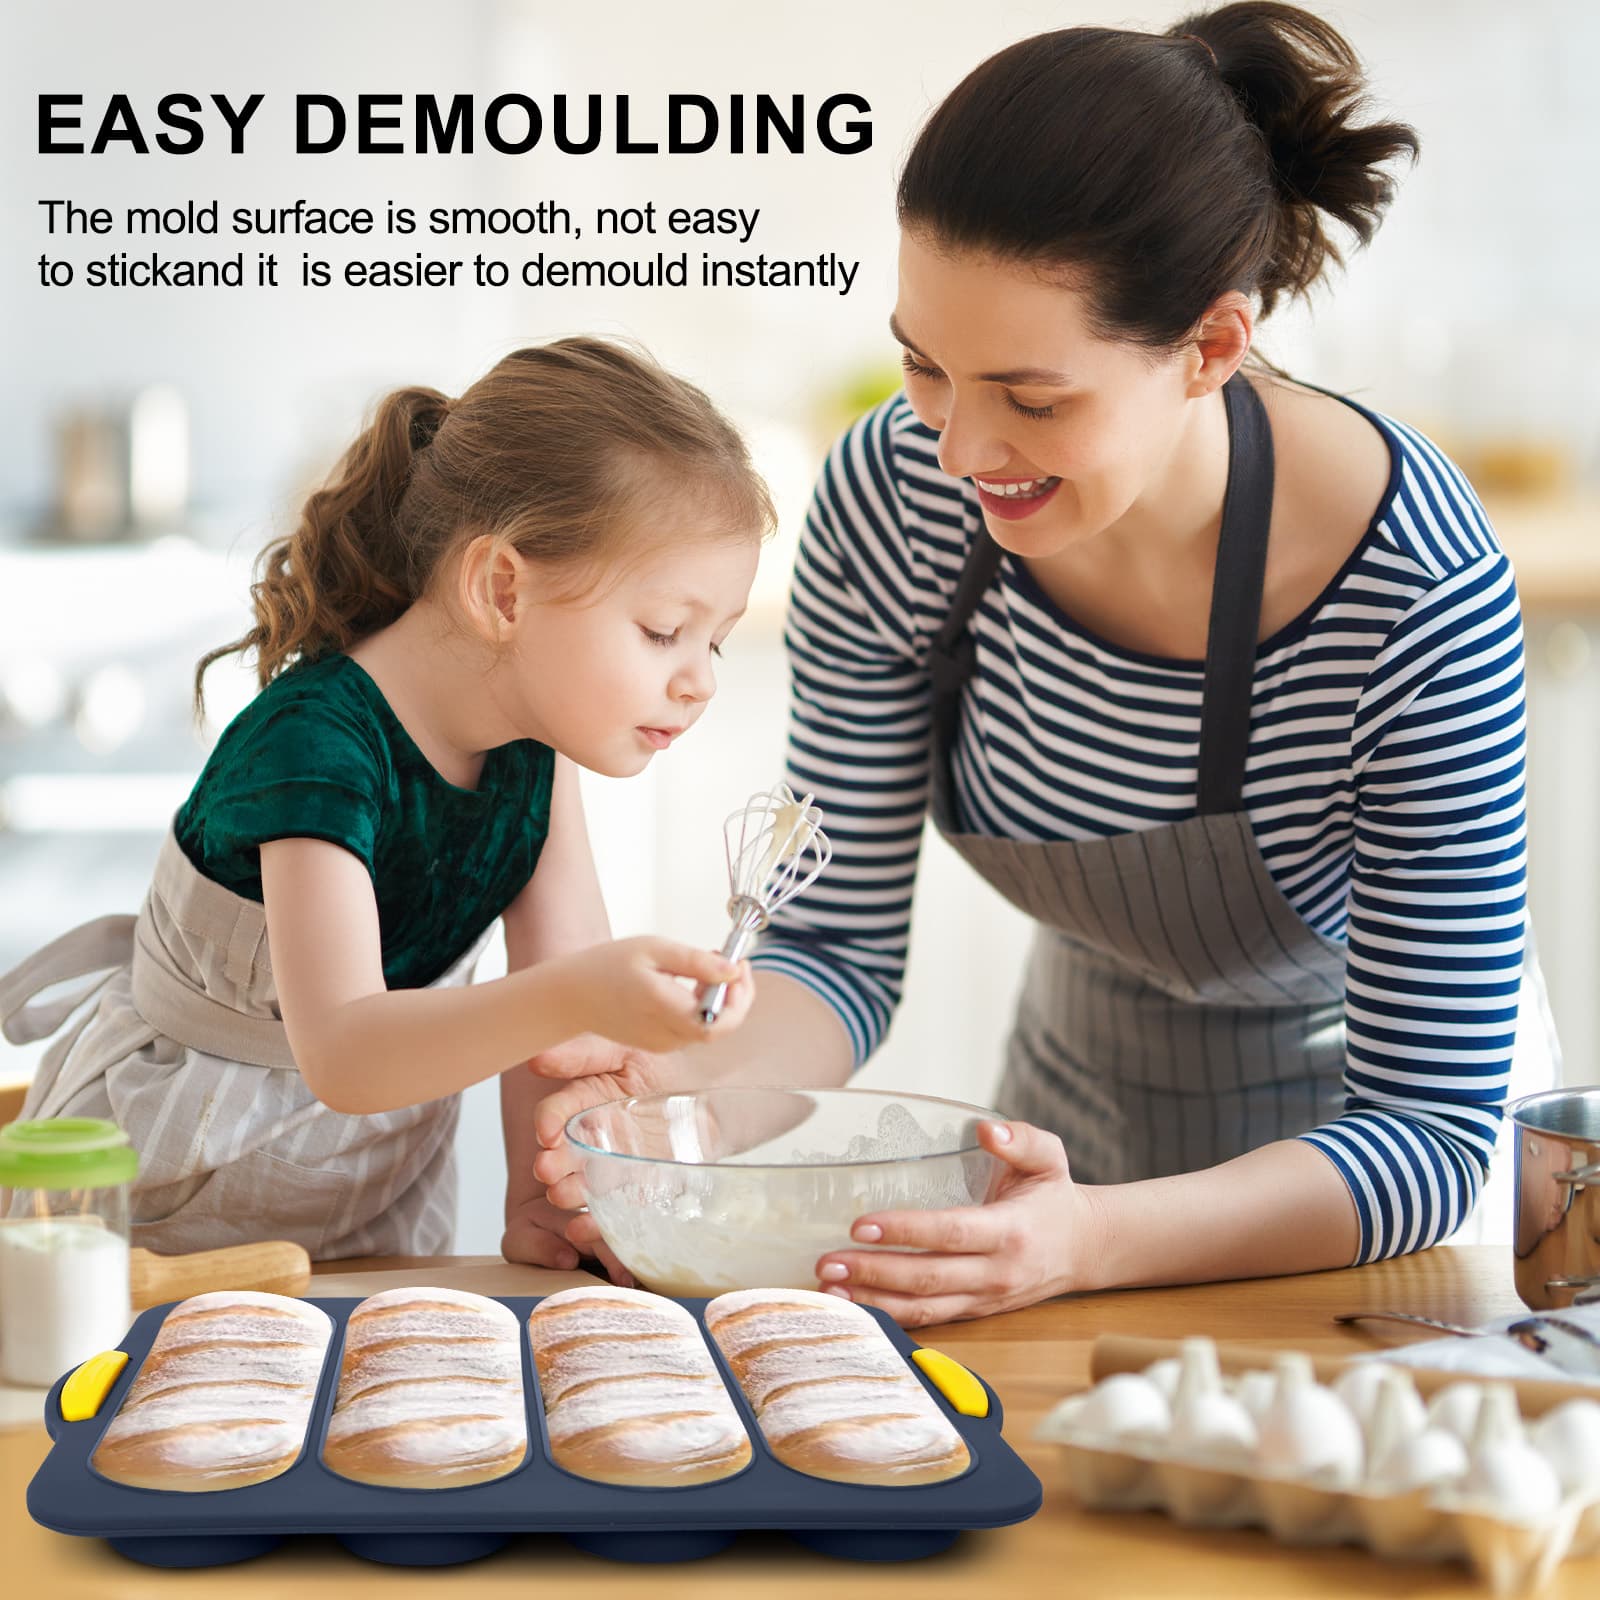
Follow the instructions supplied with the pan and the tested recipe rather than applying grease automatically. The OB-2002G has a smooth, flexible silicone surface intended to support release, but ingredients and recipes differ, so no single preparation method fits every dough.
What bread can you make in the four-cavity pan?
The verified uses for model OB-2002G are baguette-style loaves, sub rolls and hot dog buns. The cavities are elongated, so this pan is better matched to four narrow rolls than to one full-size sandwich loaf.
How much dough goes in each cavity?
Use the portion size specified by your chosen recipe and divide the batch into four similar pieces. The verified product data does not state a dough weight or volume per cavity, so this guide does not invent one.
How do you know when bread rolls are done?
Use the recipe's expected time together with color, aroma, feel and structure. If the recipe provides an internal-temperature target, an instant-read thermometer can confirm those cues, but it should not replace the recipe or visual checks.
How do you remove bread from a silicone mold?
Keep the hot mold supported until the bread has settled enough to handle according to the recipe. Then ease the silicone edge away from the roll and lift the bread gently; do not cut against the cavity or pull the flexible pan while it is unsupported and hot.
Is the OB-2002G silicone bread pan dishwasher safe?
The current verified product record for model OB-2002G does not state that it is dishwasher safe. Unless the packaging supplied with your pan confirms otherwise, hand wash it with warm water, mild dish soap and a soft sponge, then dry it completely.
What are the dimensions and ASIN of the gray pan?
The gray OB-2002G measures 13.3 × 9.3 × 0.99 inches, or 33.6 × 23.6 × 2.5 centimeters. Its verified Amazon ASIN is B0FL24MC59.
Sources and review method
Check the guidance behind this article
Product facts in this guide come from the verified OB-2002G catalog record and matching product images. General bakeware handling, doneness and cooling guidance was checked against the following external sources on Aug 13, 2026.
1. Health Canada: The safe use of cookware and bakeware
General guidance to use silicone bakeware according to its intended use and manufacturer instructions.
2. Wilton: Bakeware comparison chart and guide
Manufacturer guidance on supporting flexible silicone bakeware with a metal cookie sheet and expecting different browning from metal pans.
3. King Arthur Baking: How to tell if bread is done baking
Bread-doneness guidance that combines sensory cues with an optional thermometer check.
4. Utah State University Extension: Yeast Breads Plain and Fancy
Extension guidance on moving baked bread to wire racks and cooling before wrapping.
About the author
Obsoorth Editorial Team
The editorial team prepares product-use guidance from verified catalog records, matching product assets and cited external references. The team removes unsupported specifications and separates general baking guidance from claims about a specific model.