Quick Answer
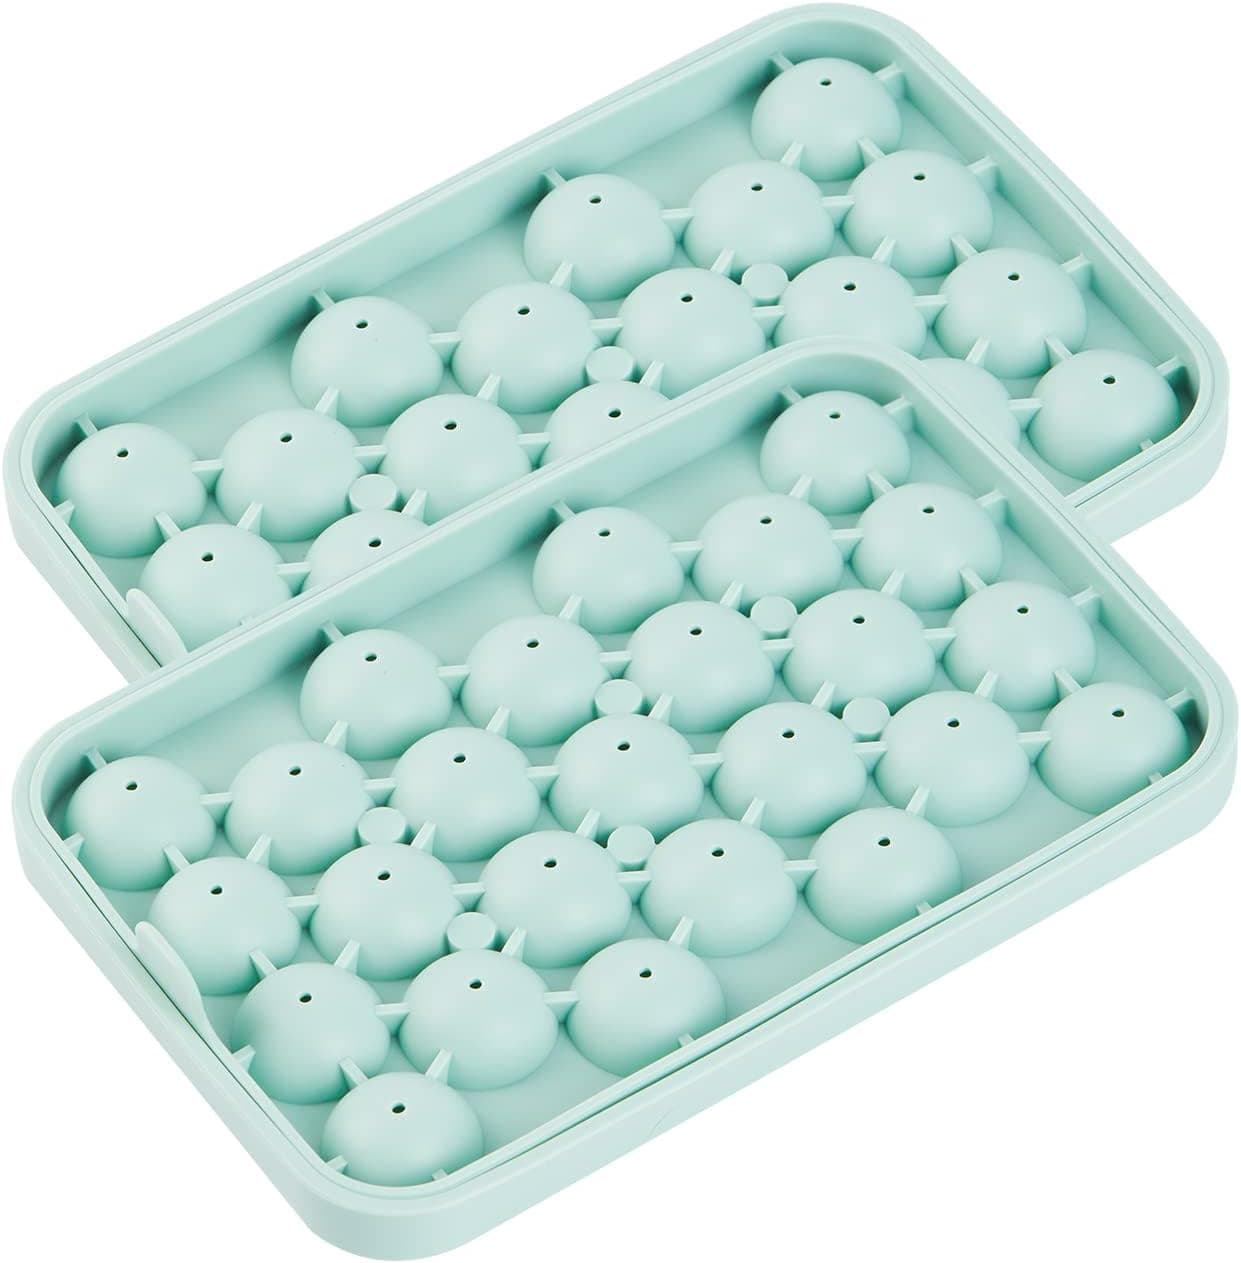
To use a round ice ball tray without spilling, seat the two silicone halves evenly on a flat support before adding water through the small top openings. Home drink makers can use the Obsoorth KJ-Ice04 to prepare two batches of 25 small round ice pieces for water, iced coffee or mixed drinks. Fill gradually with potable water, wipe away overflow and move the supported tray level to a clear freezer shelf. Once solid, separate the halves and flex the lower cavities gently; avoid sharp tools and follow the care instructions supplied with your exact tray.
Before filling
Check whether this round ice tray fits your drink routine
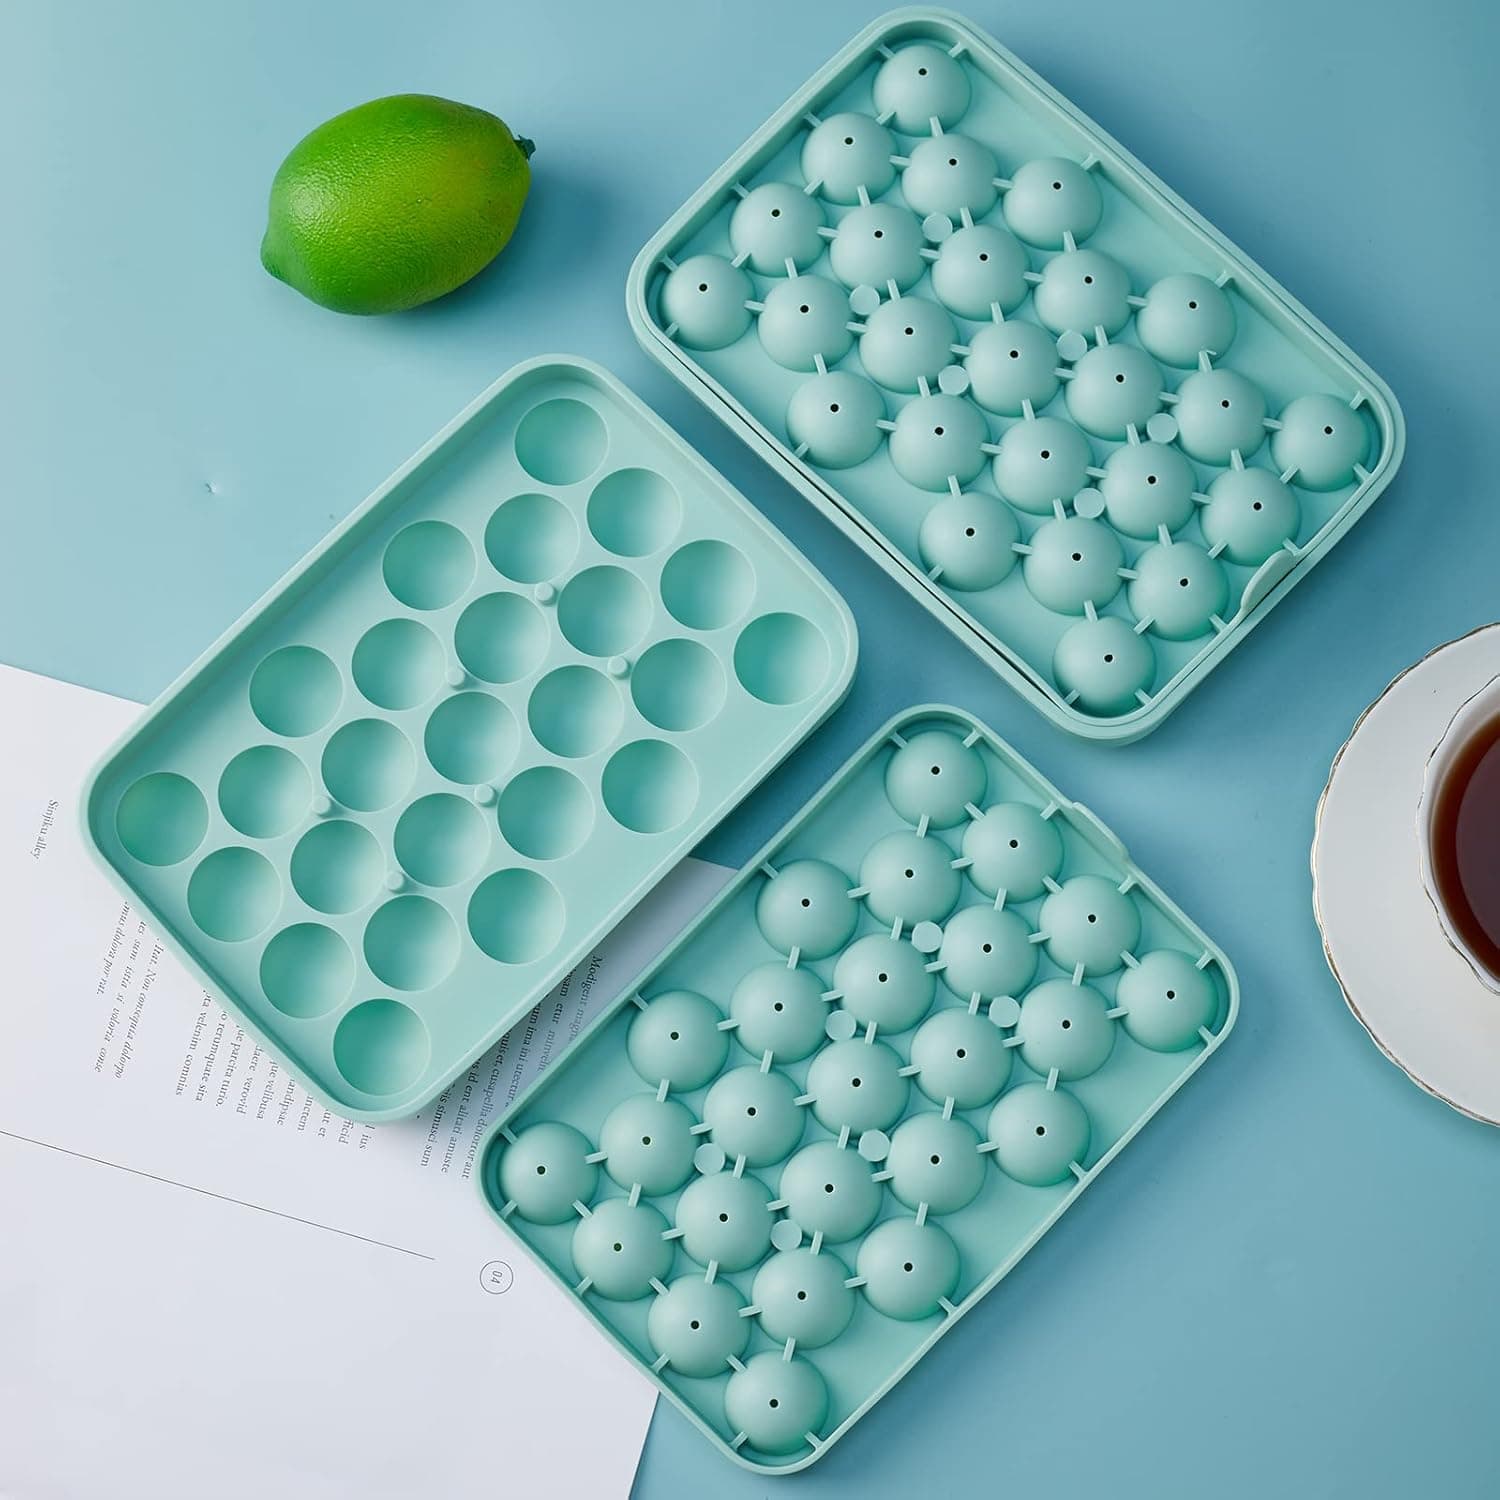
This workflow is for a household making multiple small ice pieces in a compact freezer space. Each KJ-Ice04 tray has 25 round cavities and the set includes two green trays. The assembled dimensions are 7.48 × 5.08 × 2.05 inches, and the verified product record describes 1.1-inch ice balls. Measure the intended shelf and leave enough vertical clearance to set the flexible tray down without pushing against food above it.
The smaller round pieces suit everyday water, sparkling water, iced coffee, cocktails and mixed drinks. Choose a different mold if a recipe requires one large slow-melting sphere, a specific measured volume or a shape larger than 1.1 inches. The product record does not state exact cavity volume, freeze time or use with foods other than water, so those details should not be guessed.
Use this setup when
- You want a batch of small round ice for everyday drinks.
- You have a level freezer shelf at least as large as the tray.
- You can carry the flexible mold on a flat support.
- You are using water that is safe to drink.
Choose another method when
The freezer shelf is tilted or crowded, local guidance says the water is unsafe, you need an exact measured ice volume, or the supplied tray instructions do not confirm your planned ingredient.
Set up first
Prepare a clean, level route from sink to freezer
Clear the destination shelf before filling the mold. Set out the two silicone pieces, a narrow-spout water container, a flat support, a clean towel and a clean container for released ice. FDA guidance says ice should be handled like food, made with safe water and stored in a clean food-safe container. Keeping the workflow clean matters more than making the spheres look perfectly uniform.
Inspect the tray for cuts, torn edges or residue. If either half is damaged or will not align, stop using it rather than relying on pressure to force a seal. Wash your hands before touching the clean tray or finished ice, and keep the setup away from raw-food prep, dirty glasses and utensils that have already been used.
Step-by-step
Follow seven steps to fill and release round ice balls
Step 1
Wash, rinse and dry both tray halves
Begin with clean hands and a clear work surface. Separate the base and top, then wash both pieces with warm water, mild dish soap and a soft sponge unless the instructions supplied with your tray specify another method. Rinse away soap and check every cavity and filling opening before reassembly. The FDA treats ice as food, so the water, tray and anything that touches the finished ice should be clean.
Step 2
Seat the top evenly on the cavity base
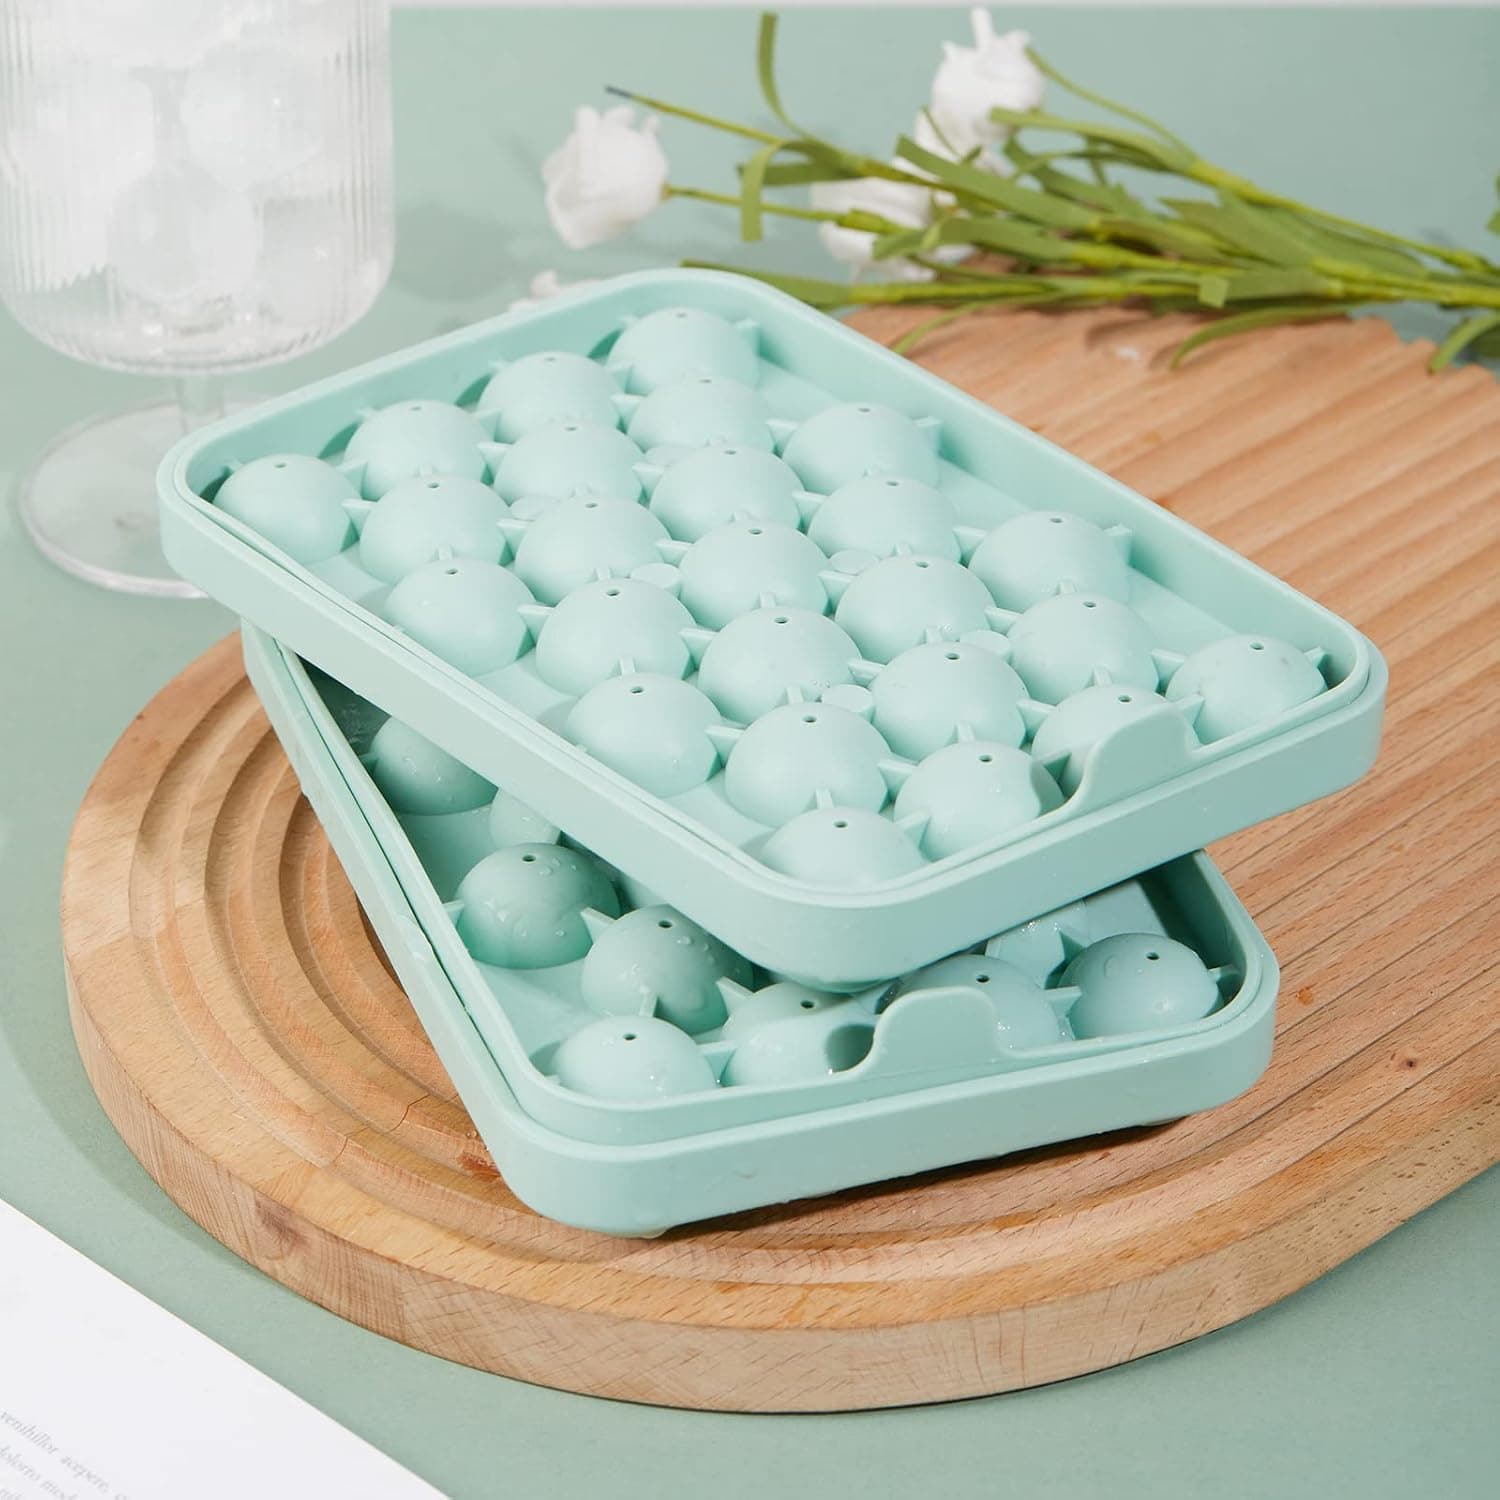
Place the lower half on a flat tray, small rimmed sheet or level counter. Align the matching top so every dome sits over a cavity, then press around the outer edge and across the center until the halves sit evenly. Do not stretch one corner across a misaligned edge. An uneven seal can let water escape between the pieces instead of remaining in the round cavities.
Step 3
Choose water that is safe to drink
Use the same potable water you would serve in a glass. If a local boil-water or do-not-drink advisory applies, follow the issuing authority rather than assuming freezing makes the water suitable. CDC guidance for water emergencies specifically includes making ice among the uses that require safe water. This guide does not claim that freezing purifies water or removes contaminants.
Step 4
Fill through the small top openings gradually
Pour from a narrow-spout cup or bottle into the openings while the assembled mold remains flat. Work gradually across the tray and pause so water can settle into the lower cavities. Stop when the cavities are filled without leaving a pool above the domes; the exact pour volume is not stated in the verified KJ-Ice04 record, so use the openings and the tray's own level as your visual guide instead of a guessed measurement.
Step 5
Wipe the outside and support the tray for transfer
Blot water from the top, edges and underside with a clean towel. Keep the silicone tray on its flat support and carry the support with two hands. A 7.48 by 5.08-inch flexible mold is easy to tilt if it is lifted by one edge; a level support reduces sloshing on the route from the sink or counter to the freezer.
Step 6
Freeze the tray flat without compressing it
Choose a stable freezer shelf with enough clearance for the listed 2.05-inch tray height. Set the supported tray down level, then remove the support only if the mold stays flat and the product instructions permit it. Do not place heavy packages on top of the domes. Freezing time varies with the freezer, water temperature, loading and airflow, so wait until the ice is solid rather than promising a universal number of hours.
Step 7
Release the ice by separating and flexing gently
Remove the tray with clean, dry hands. Separate the two silicone pieces slowly, then flex the lower half around a few cavities at a time and lift the ice into a clean food-safe container or directly into drinks. Avoid knives, metal picks and hard twisting that could cut the silicone. If the pieces resist, let the exterior sit briefly at room temperature and try gentle pressure again rather than forcing the mold.
Troubleshooting
Avoid five common round ice tray mistakes
Filling before the halves are aligned
Seat the domed top evenly across the lower cavities first so water stays inside the intended round spaces.
Pouring too quickly
Add water gradually and pause for it to settle instead of leaving a pool across the top of the mold.
Carrying one flexible edge
Move the filled tray on a rigid, flat support with two hands to reduce tilting and freezer spills.
Guessing a fixed freeze time
Check that the pieces are solid because freezer conditions vary and no verified universal time is published.
Using a knife to pry out ice
Separate and flex the silicone gently so a sharp tool does not cut the cavities or contaminate the ice.
After serving
Clean, dry and store both silicone pieces separately
Empty remaining ice into a clean food-safe container instead of touching every piece. Separate the mold, then wash the cavities, domes and filling openings with warm water, mild dish soap and a soft sponge. CDC guidance says routine cleaning uses water, soap and scrubbing; clean before any sanitizing step that the product instructions may require. The current KJ-Ice04 record does not verify dishwasher use, so hand washing is the conservative default.
Rinse thoroughly and let both halves dry completely before they are nested or reassembled. Store them away from knives and heavy items that could puncture or deform the domes. Before the next batch, check the small filling openings for residue and rewash any surface that has collected dust or contacted an unclean shelf.
Product match
Review the exact KJ-Ice04 tray before choosing
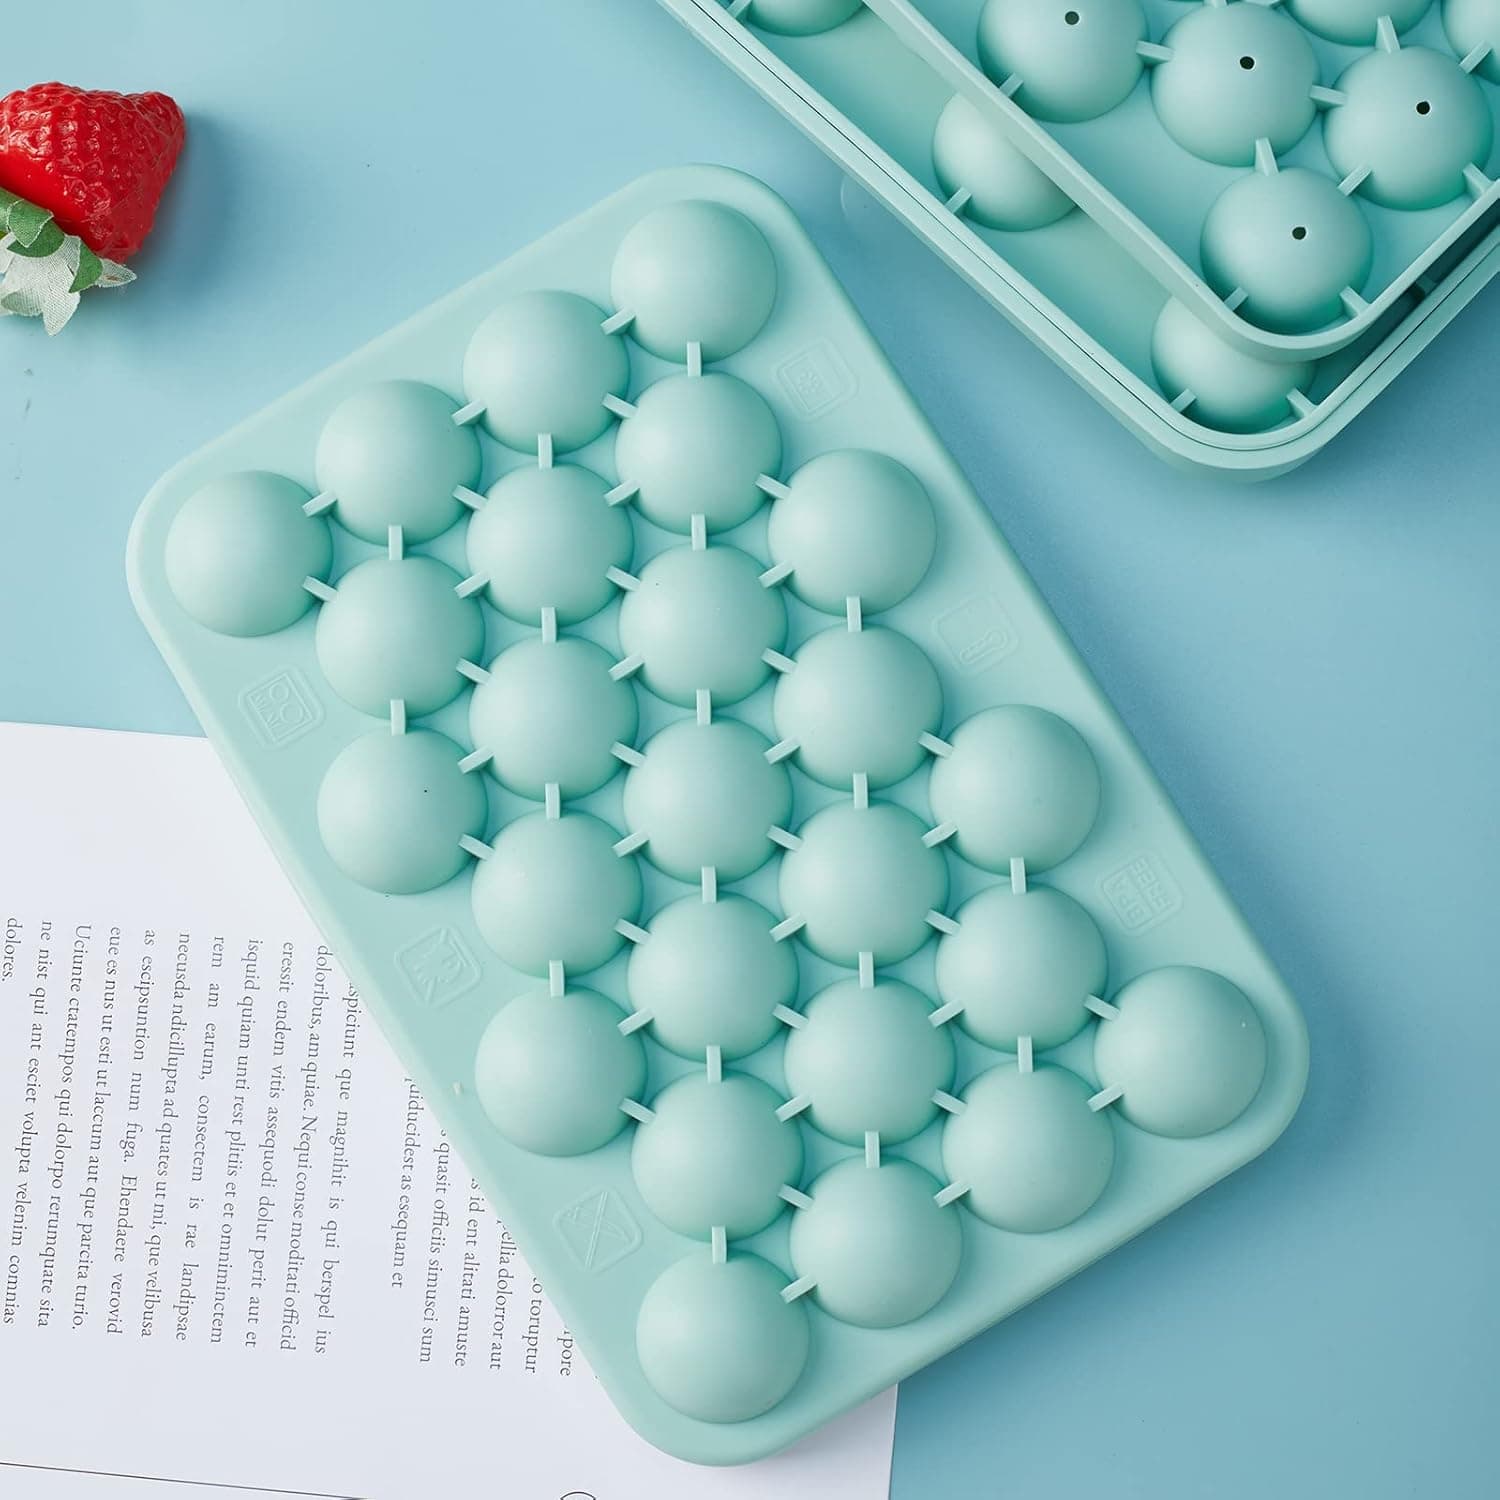
The green Obsoorth round ice cube tray two-pack is model KJ-Ice04, made from silicone and listed under ASIN B0BY89SSVG. Compare its verified 25-cavity format, 1.1-inch ice size and listed dimensions with your freezer and drinkware. You can also browse the Ice & Beverage collection or read the Small Kitchen Upgrades guide for related drink-preparation ideas.
Frequently asked questions
Round silicone ice ball trays, answered
How do you fill a round ice ball tray without spilling?
Assemble the two halves evenly, keep the tray on a flat support and pour gradually through the small top openings. Wipe the exterior, then carry the support with two hands so the flexible mold stays level on the way to the freezer.
Do you fill the bottom or top of a two-part ice ball tray?
For KJ-Ice04, fit the top over the lower cavities first and add water through the individual openings in the domes. The matching halves create the round shape; filling an open bottom alone would not follow this tray's two-part design.
How full should a silicone ice ball tray be?
Fill gradually until water has entered the cavities without pooling across the top. The verified product data does not provide a measured fill volume, so avoid inventing one and use the openings plus a level-tray check as the practical guide.
How long do small ice balls take to freeze?
There is no single verified freezing time for this tray. Freezer settings, water temperature, shelf position and how much food surrounds the mold all change the result, so confirm that the pieces are solid before release.
Why are my ice balls misshapen or joined together?
The top may have been misaligned, the tray may have tilted, or excess water may have pooled above the domes. Seat both halves evenly, fill slowly, wipe away overflow and freeze the mold on a level shelf.
Can you put juice or fruit in the KJ-Ice04 tray?
The verified KJ-Ice04 use cases cover ice for water, sparkling water, iced coffee, cocktails and mixed drinks; they do not verify freezing juice, fruit pieces or other ingredients inside the mold. Use plain potable water unless the instructions supplied with your exact tray confirm additional uses and cleaning requirements.
Is the KJ-Ice04 round ice tray dishwasher safe?
The current verified product record does not state that KJ-Ice04 is dishwasher safe. Hand wash both silicone pieces with warm water, mild dish soap and a soft sponge unless the packaging that came with your tray explicitly confirms a dishwasher method.
What are the size, model and ASIN of the green tray?
The green tray's listed dimensions are 7.48 × 5.08 × 2.05 inches, and it makes 1.1-inch round ice pieces in 25 cavities per tray; two trays are included. The model is KJ-Ice04 and the verified Amazon ASIN is B0BY89SSVG.
Sources and review method
Check the guidance behind this article
Product facts come from the verified KJ-Ice04 catalog record and matching product images. General water, food-contact and cleaning guidance was checked against the following authoritative sources on Aug 24, 2026.
1. FDA: FDA Regulates the Safety of Packaged Ice
Official guidance that treats ice as food and recommends safe water, clean equipment, clean containers and clean handling.
2. CDC: Preventing Food Poisoning
Current kitchen-hygiene guidance on washing hands and cleaning utensils and surfaces with hot, soapy water.
3. CDC: How to Make Water Safe in an Emergency
Official emergency-water guidance that includes making ice among uses requiring water known to be safe.
4. CDC: Cleaning and Disinfecting
Guidance explaining that routine cleaning uses water, soap and scrubbing, and that surfaces should be cleaned before any sanitizing step.
About the author
Obsoorth Editorial Team
The editorial team prepares product-use guidance from verified catalog records, matching product assets and cited external references. The team removes unsupported specifications and separates general kitchen hygiene from claims about a specific model.